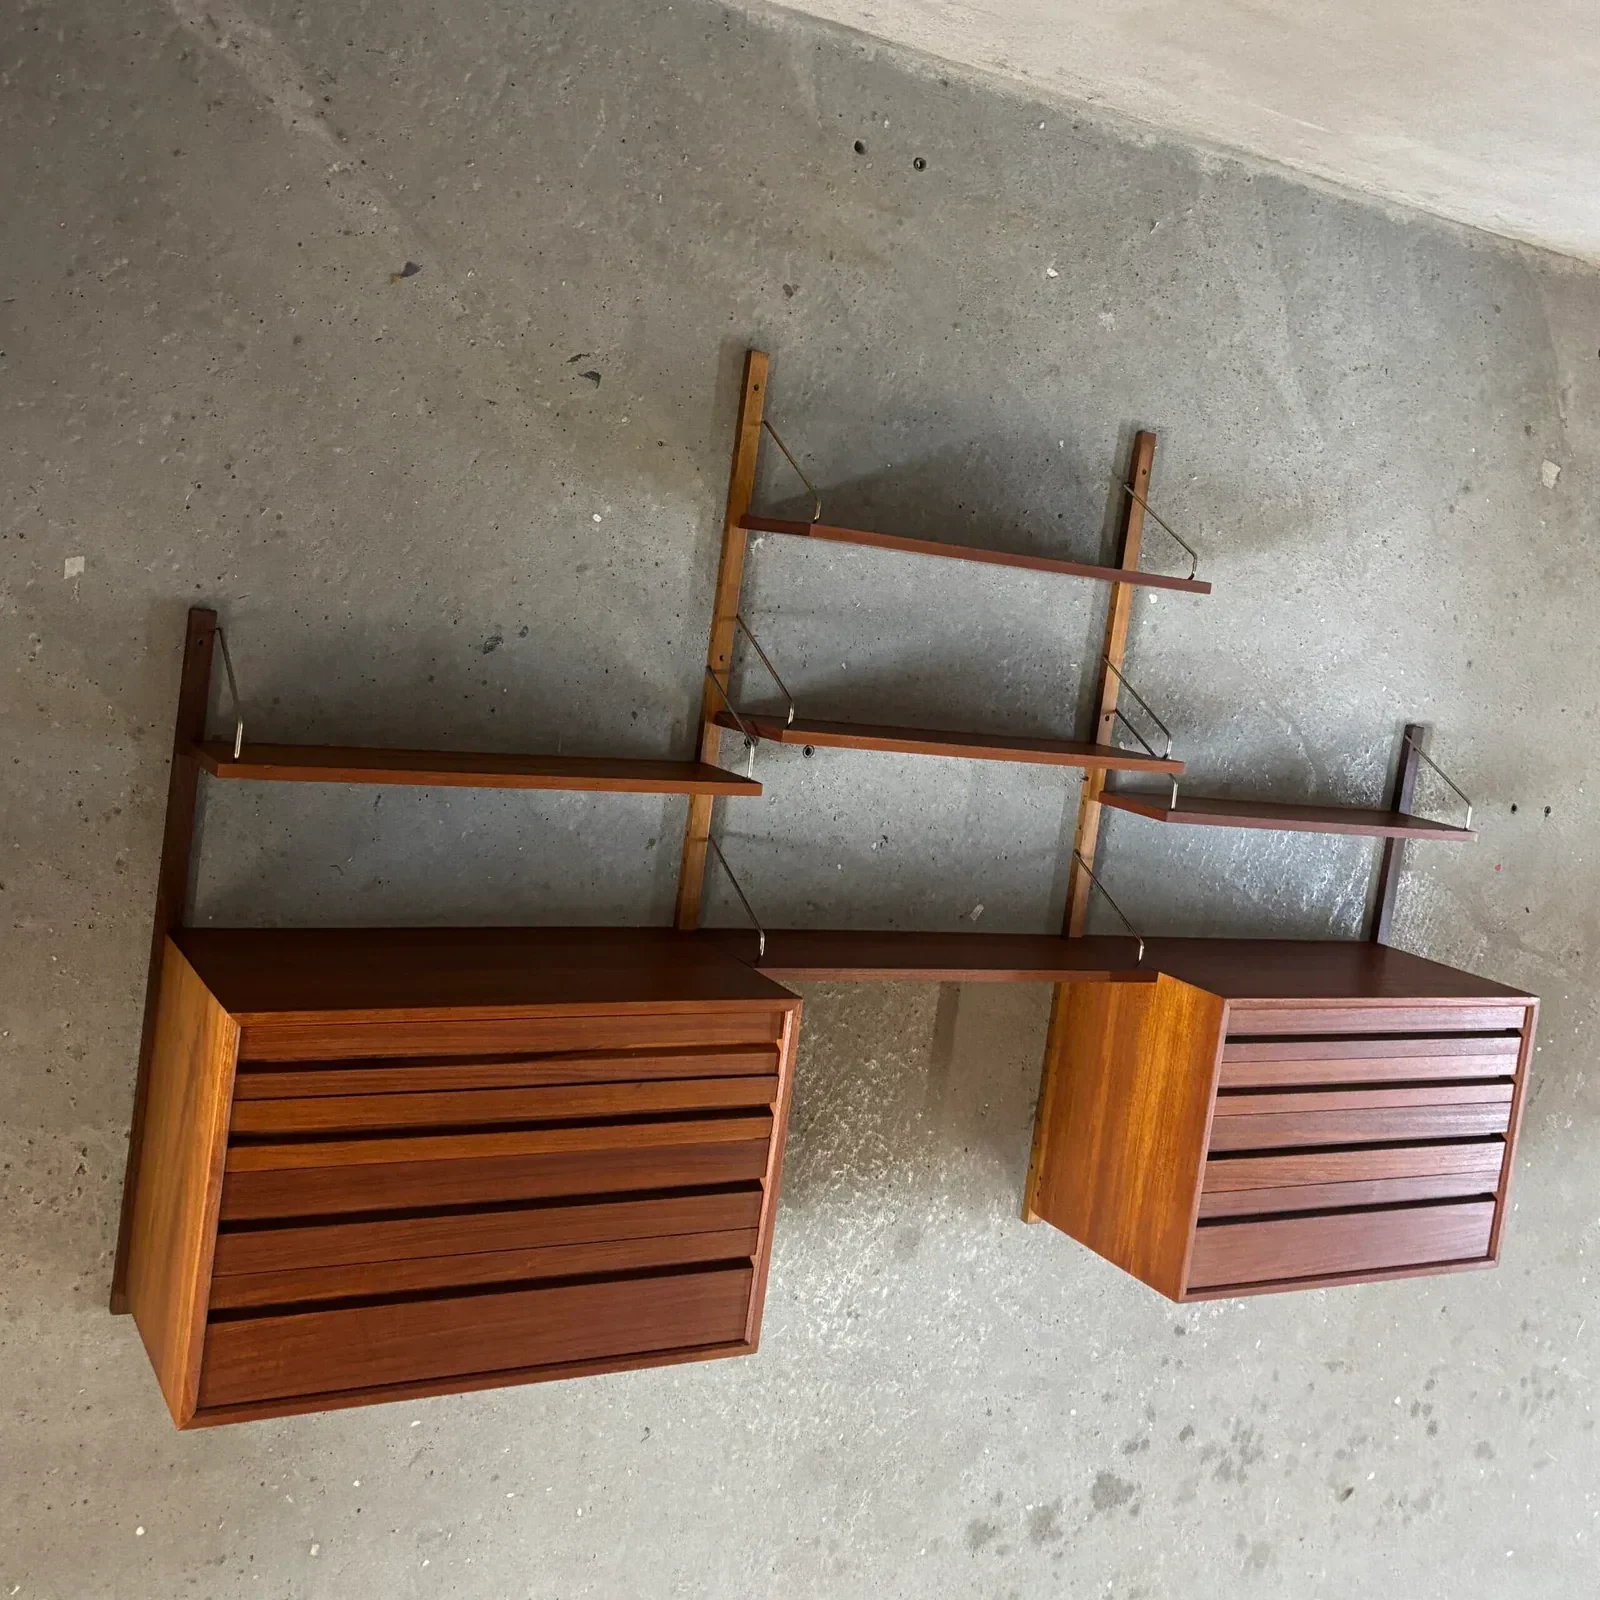
Define one configuration before you buy
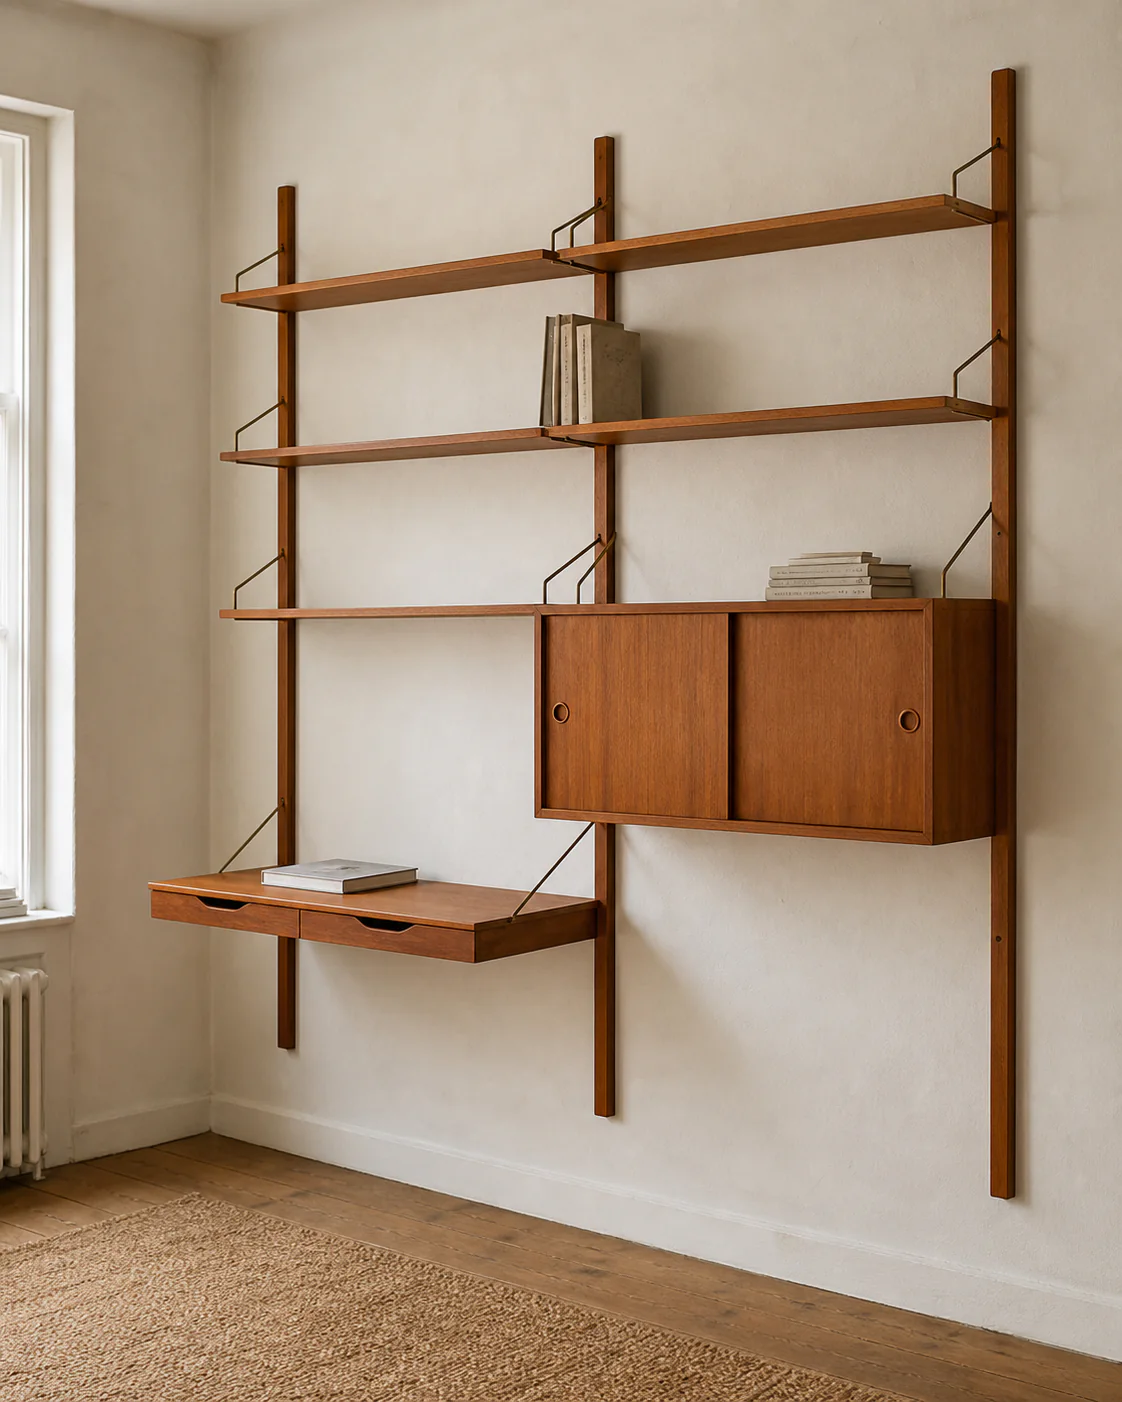
Ask what the system must do and draw the arrangement you actually intend to install. A shallow display shelf, a record cabinet, a working desk and a wall of books place different demands on depth, component count, room clearance and professional assessment. If the seller shows several possible arrangements, choose one as the purchase baseline instead of assuming every photographed combination is included.
Write the configuration brief
- UseList the real contents and activities: books, records, ceramics, a monitor, a drop-front desk or light display objects.
- Wall envelopeRecord the available width and height plus skirting, sockets, switches, radiators, doors, curtains and nearby furniture.
- ArrangementMark every rail, bay, shelf and cabinet and show the open state of doors, drawers and desk flaps.
- Decision boundaryState whether missing proprietary parts, uncertain compatibility, refinishing, professional installation or a changed layout are acceptable.
Purchase boundary
Complete for one drawing—not complete in the abstract
A seller may accurately describe a group as a wall system while the parts do not make your intended arrangement. Agree the exact included inventory and configuration before discussing whether it is complete.
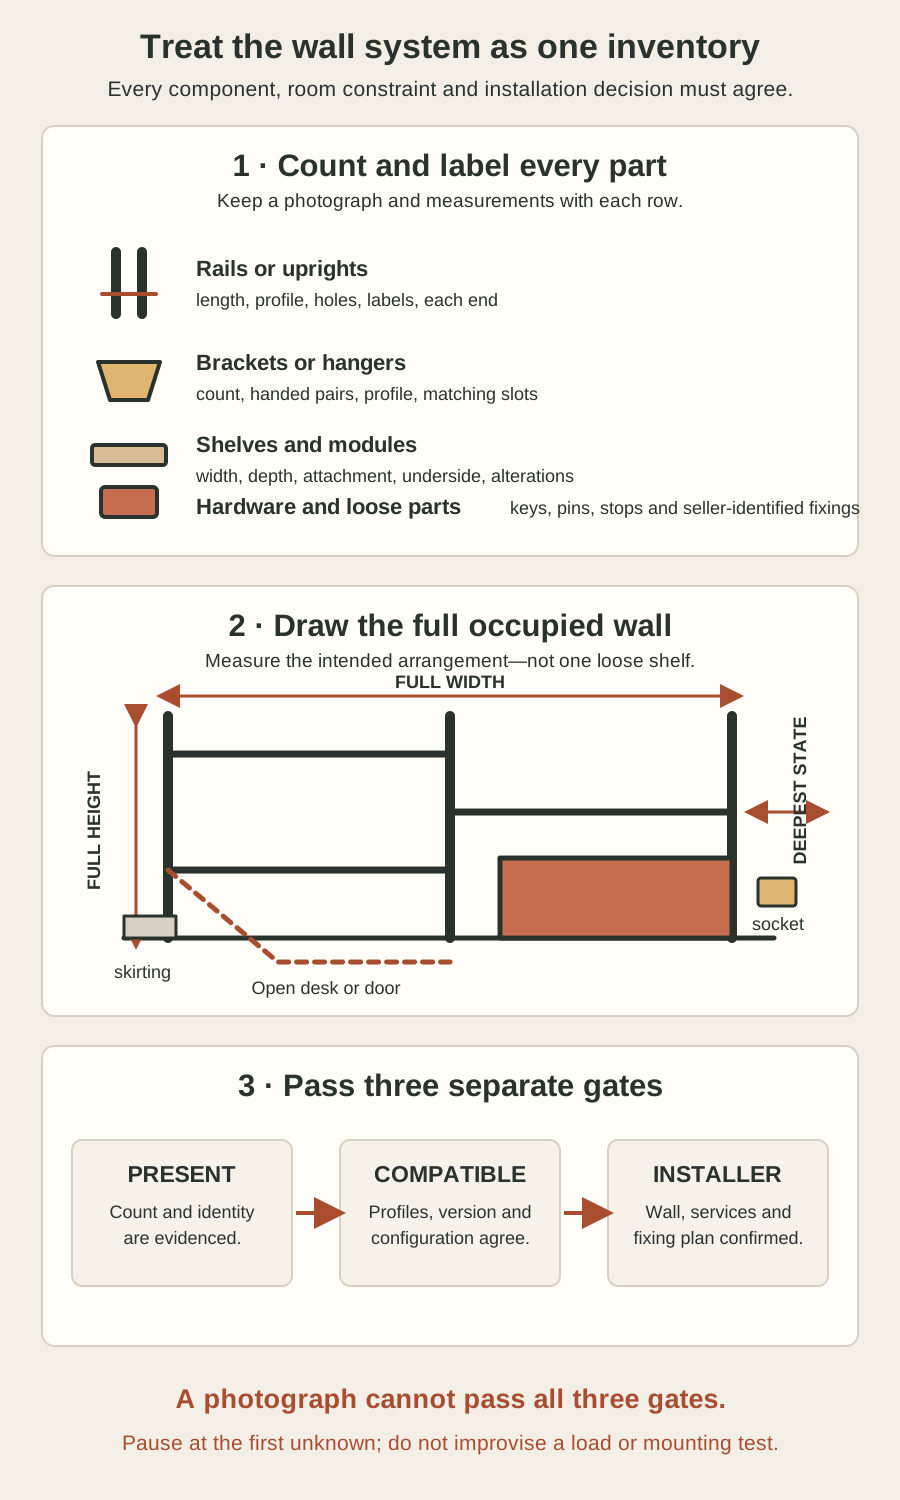
Build a one-row-per-component inventory
Give every physical part a temporary identifier. Start with rails or uprights, then brackets or hangers, shelves, cabinets, desk elements and the hardware already attached to them. Finish with loose pins, stops, screws, keys and trim pieces. One group photograph is useful orientation; it is not a count.
| Component | Evidence to keep | Question it answers |
|---|---|---|
| Rail or upright | Identifier, count, full length, profile, fixing holes, both ends, labels and alterations | Which structural track is present, and are all required lengths represented? |
| Bracket or hanger | Identifier, left/right orientation, profile, locating points and the shelf or module it carries | Is there an evidenced matched support for every intended position? |
| Shelf or desk element | Width, depth, thickness, underside, edges, support relationship and any cut-out | Where can it sit, and has it been altered for another configuration? |
| Cabinet or drawer module | Outer dimensions, back, underside, attachment, keys, internal fittings and open state | Will it mount and operate in the intended bay without collision? |
| Loose hardware | Counted layout on a plain background, scale and seller's description of where each item belongs | What is genuinely included, and what still needs identification? |
Use the furniture-photograph Guide for whole, relationship and detail views. Keep the identifier in each frame so a close photograph cannot drift away from the inventory row it is meant to support.
Prove the system, version and fit between parts
Record maker marks, labels, dimensions, profiles, materials and known purchase history without treating any one clue as sufficient. Compare rails to hangers, hangers to shelves and cabinet fittings to the exact rail profile. Ask whether the seller has assembled this same set and whether any part came from another purchase, country, date or later reproduction.
dk3 describes current System Cado as rails, shelves with wooden brackets and cabinets, then states that its new parts are not compatible with parts made before 1985. That is a narrow, official example of a real version boundary. It does not identify another system, date an individual part or make every pre-1985 component mutually compatible.[1]
dk3 records historical Royal System manufacture under licence in more than thirty countries and describes a different hanger construction from System Cado. Shared designer, period language or similar bay width therefore cannot replace evidence for the exact rail, hanger and module relationship in front of you.[2]
Evidence that strengthens compatibility
- Same-set historyAn invoice, earlier installed photograph or labelled dismantling sequence connects these exact parts more strongly than a catalogue image.
- Matching interfacesClear photographs and measurements show how the exact hanger locates in the exact rail and supports the exact shelf or cabinet.
- Complete repeated patternEvery intended bay has the required matched parts; one successful-looking connection does not stand in for the rest.
- Specialist confirmationA dealer, maker archive, conservator or experienced installer names the evidence used and preserves any remaining uncertainty.
Load boundary
Do not borrow a current specification
A current maker's shelf rating applies only to the product and test conditions it names. It does not rate an old rail, altered bracket, different fixing, unknown wall or mixed configuration. Ask for exact documentation or keep load capacity unresolved.
Measure the full wall and every open state
Measure the proposed arrangement as one wall elevation. Record maximum width and height from the outermost fixed parts, bay spacing between rail centrelines or other repeatable references, every shelf and cabinet depth, and the lowest and highest usable positions. Then draw the room features that cannot move.

Add the occupied states
- Desk or drop frontMeasure its deepest open projection, working height, chair space and the route around a seated person.
- Doors and drawersRecord handle projection and the full swing or pull-out envelope beside walls, curtains and neighbouring modules.
- Skirting and servicesShow skirting thickness, sockets, switches, radiator zones and known pipes or cables without assuming a safe drilling area.
- Floor and ceilingRecord local level, cornice, beams and access above or below; do not assume the photographed seller's wall matches yours.
Use the moving-parts Guide for every cabinet mechanism and the delivery-route Guide for the protected dimensions of dismantled modules. The installed footprint and the carrier's route are separate drawings.
Inspect condition without inventing strength
Photograph every rail straight-on and from both edges, every bracket or hanger from several angles, both faces and all edges of shelves, and every cabinet's back, underside and attachment points. Record corrosion, deformation, splits, enlarged holes, compression, missing veneer, added cut-outs, replacement hardware and old wall paint as observations—not diagnoses or strength tests.
| Observation | Ask next | Do not conclude |
|---|---|---|
| Shelf appears bowed | Level side views, unloaded history, exact supports and whether the shape changes off the wall | Remaining load capacity or a universal acceptable deflection |
| Rail has extra or enlarged holes | When and why they were added, full profile views and installer assessment | That a larger screw will make the installation sound |
| Bracket is bent, corroded or mismatched | Matching parts, interface photographs and specialist compatibility review | Metal type, safe straightening or strength from appearance |
| Cabinet back or attachment is altered | Complete alteration, support path and previous work record | That the change is cosmetic or reversible |
| Several parts have different colour or finish | Provenance, dimensions, profiles and refinishing history | Different system, age or incompatibility from colour alone |
Use the construction Guide to describe solid parts, veneer and later board materials without guessing from a front face. A surface description still does not establish the structural role of a component.
Keep installation as a separate professional decision
The US Consumer Product Safety Commission warns that furniture with drawers, doors and shelves can create a tip-over hazard and promotes wall anchoring. A wall-mounted system makes the fixing relationship fundamental, but the appropriate method depends on the exact furniture, wall, services and jurisdiction. This Guide does not specify fasteners or drilling positions.[3]
dk3 recommends professional installation for both current System Cado and Royal System. Preserve that boundary for vintage pieces: the installer should inspect the actual components and site, identify the wall construction and concealed-service risks, select the fixing design and decide whether altered or missing parts prevent installation.[1]
Give the installer a useful pack
- Configuration drawingShow the exact rail positions, components, open states and intended contents without assigning an unverified load.
- Component recordShare the counted inventory, measurements, interface photographs and every known alteration or replacement.
- Room informationProvide wall dimensions and known construction, services, lease or building permissions while keeping unknowns explicit.
- ResponsibilityConfirm who supplies fixings, assesses the wall, installs, records the final arrangement and revisits it if the configuration changes.
Stop condition
No seller mounting demonstration
Do not ask the seller to load a shelf, hang a cabinet from one bracket, reuse unknown wall plugs or improvise a temporary installation for proof. Documentary evidence and professional assessment are the responsible next steps.
Plan dismantling, packing and reassembly
The Canadian Conservation Institute recommends inspecting furniture for loose joints and weak areas before movement and supporting it from sound structural areas. For a modular system, that means agreeing the dismantling sequence before collection, not discovering it while a cabinet is being lifted from the wall.[4]
- Photograph the complete installed arrangement and every connection before removal, then repeat after each component is labelled.
- Keep matched brackets or hangers with their shelf or module, while also recording any system-wide identifiers.
- Bag and label loose hardware by component; do not mix old fixings with the installer's future wall-fixing specification.
- Protect long rails against bending and shelves against edge and veneer damage; keep cabinets supported from sound structural areas.
- Confirm whether seller, carrier, furniture specialist or installer owns each stage and who records any part that cannot be removed safely.
A system that arrives as anonymous timber and hardware is harder to verify than the same system documented on its original wall. Preserve sequence and relationships as evidence, even when the eventual arrangement will change.
Send one complete wall-system request
Message to copy
Ask for inventory, interfaces and the whole wall
Hello—could you send one complete installed view and a labelled inventory of every rail, bracket or hanger, shelf, cabinet, desk element and loose part included? For each component, please show the whole part, both ends, profile, attachment points, underside or back, labels and any alteration, and give exact dimensions. Please say which parts have been used together, whether anything came from another set or date, and what remains untested. Please also give the full current configuration dimensions and every open depth. Do not load, bend, dismantle or temporarily mount anything for the photographs. I will ask a competent installer to assess my wall and the final fixing plan. Thank you.
Buy when one useful configuration is fully inventoried, compatibility evidence is coherent, condition and alterations fit the price, and an installer is prepared to own the site-specific plan. Pause when a repeated part is missing, one interface represents the whole set, current specifications are being transferred to old parts, or installation depends on an unseen wall. Decline when essential proprietary parts cannot be identified or sourced, consequential alterations remain unresolved, or the installed and delivery costs no longer fit the purchase.