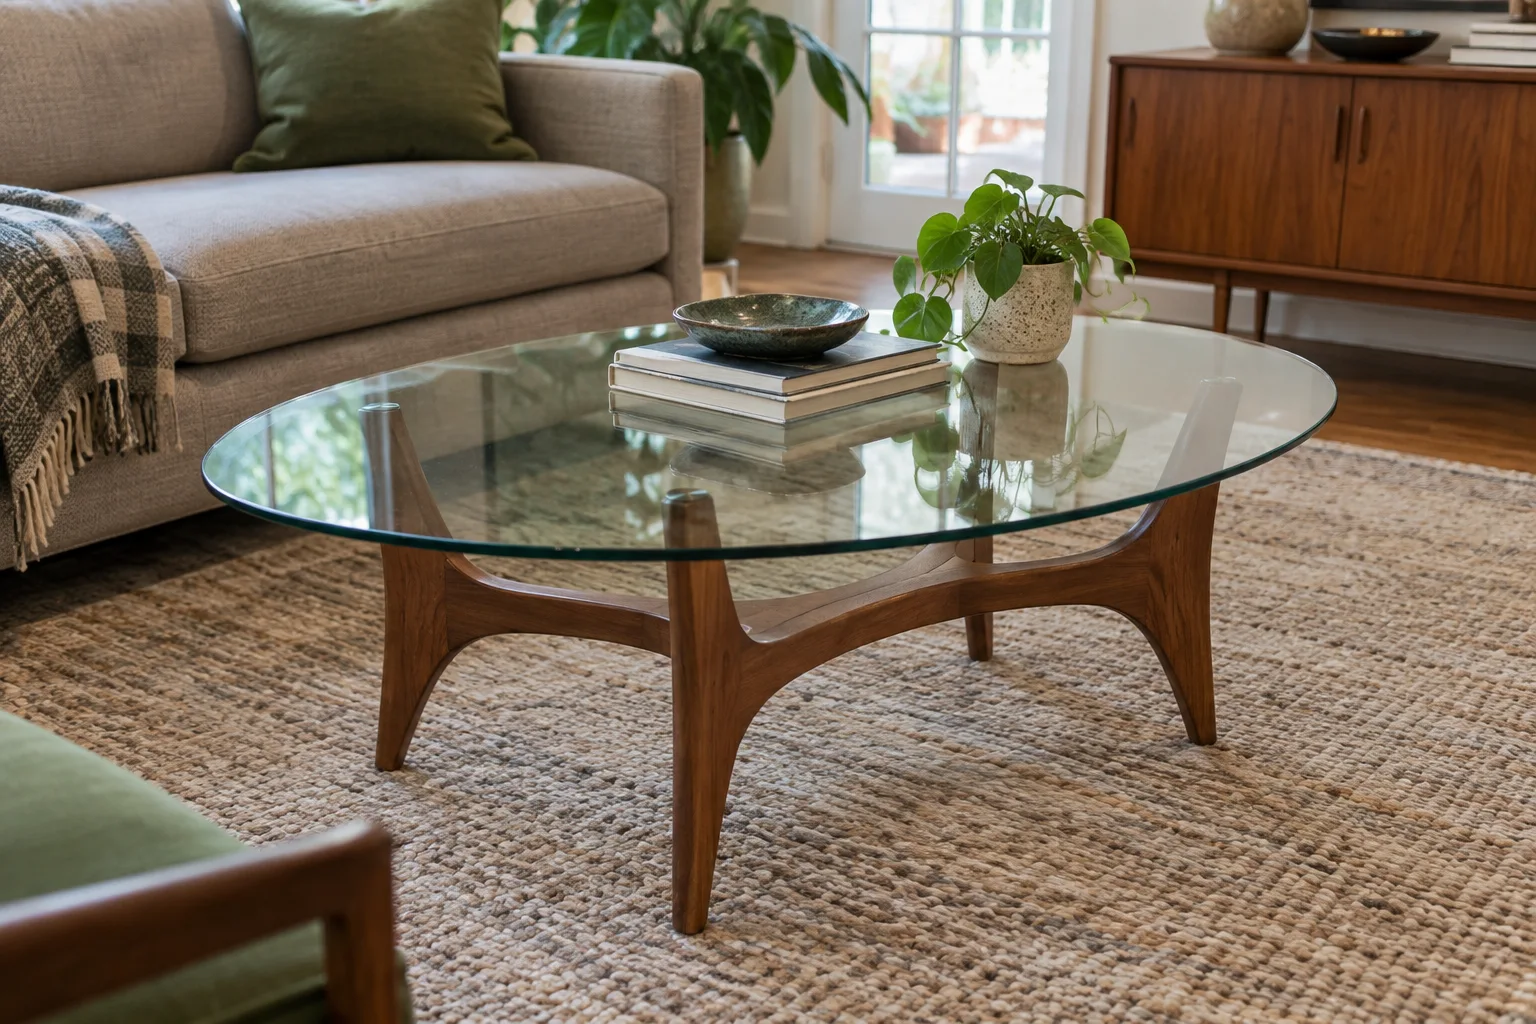
Start with the job the glass will do
A bare vintage base can be a promising find. The phrase “just needs glass” makes the missing part sound as simple as replacing a picture-frame pane. The important question is what the glass must do once it is back on the table.
A protective sheet resting on a continuous wooden top is a different commission from a glass top spanning a few supports. Glass sitting in a recess is different again from glass fixed through holes. Pilkington discusses both toughened and laminated products for furniture applications; the appropriate specification depends on the actual use and arrangement.[1]
Send one complete photograph, an accessible view of the supports and a simple plan showing where the glass will bear. Describe the intended daily use and any identified model. If the old top survives, record its condition and known history without assuming it was the original or correct specification.
If you are still deciding whether to buy the base, begin with our vintage glass-table inspection guide. This article starts at the next step: turning the assessed table into a clear order.
A first brief the glazier can actually use
Here is a hypothetical enquiry for an oval coffee table. The figures are observed example dimensions, not a recommended top size or a glass specification. The useful part is the distinction between what you measured and what the professional still needs to decide.
| Field | What the buyer sends |
|---|---|
| Use and base | Indoor coffee table; glass is the working top. Photographs show four support points and the complete wooden base. |
| Observed outline | The surviving top measures approximately 1,100 × 600 mm at its greatest extents. Its exact curve and suitability still need checking. |
| Supports and fit | Each contact point is labelled A–D on the plan. Please assess bearings, pads, span and overhang before confirming the top. |
| Existing glass | Condition, measured edge thickness where safely accessible, and any known replacement history. These are observations, not requested specifications. |
| Professional decisions | Please specify suitable glass, thickness, finished outline, edge treatment, support materials and any installation requirements. |
| Order approval | Please return the final dimensioned drawing and written specification for approval before manufacture. |
Use one unit throughout—millimetres are useful for a fabrication discussion—and label the viewing direction. For an asymmetrical outline, mark the front and the top face. Photograph the same labelled orientation so “left corner” does not change meaning between your drawing and the workshop.
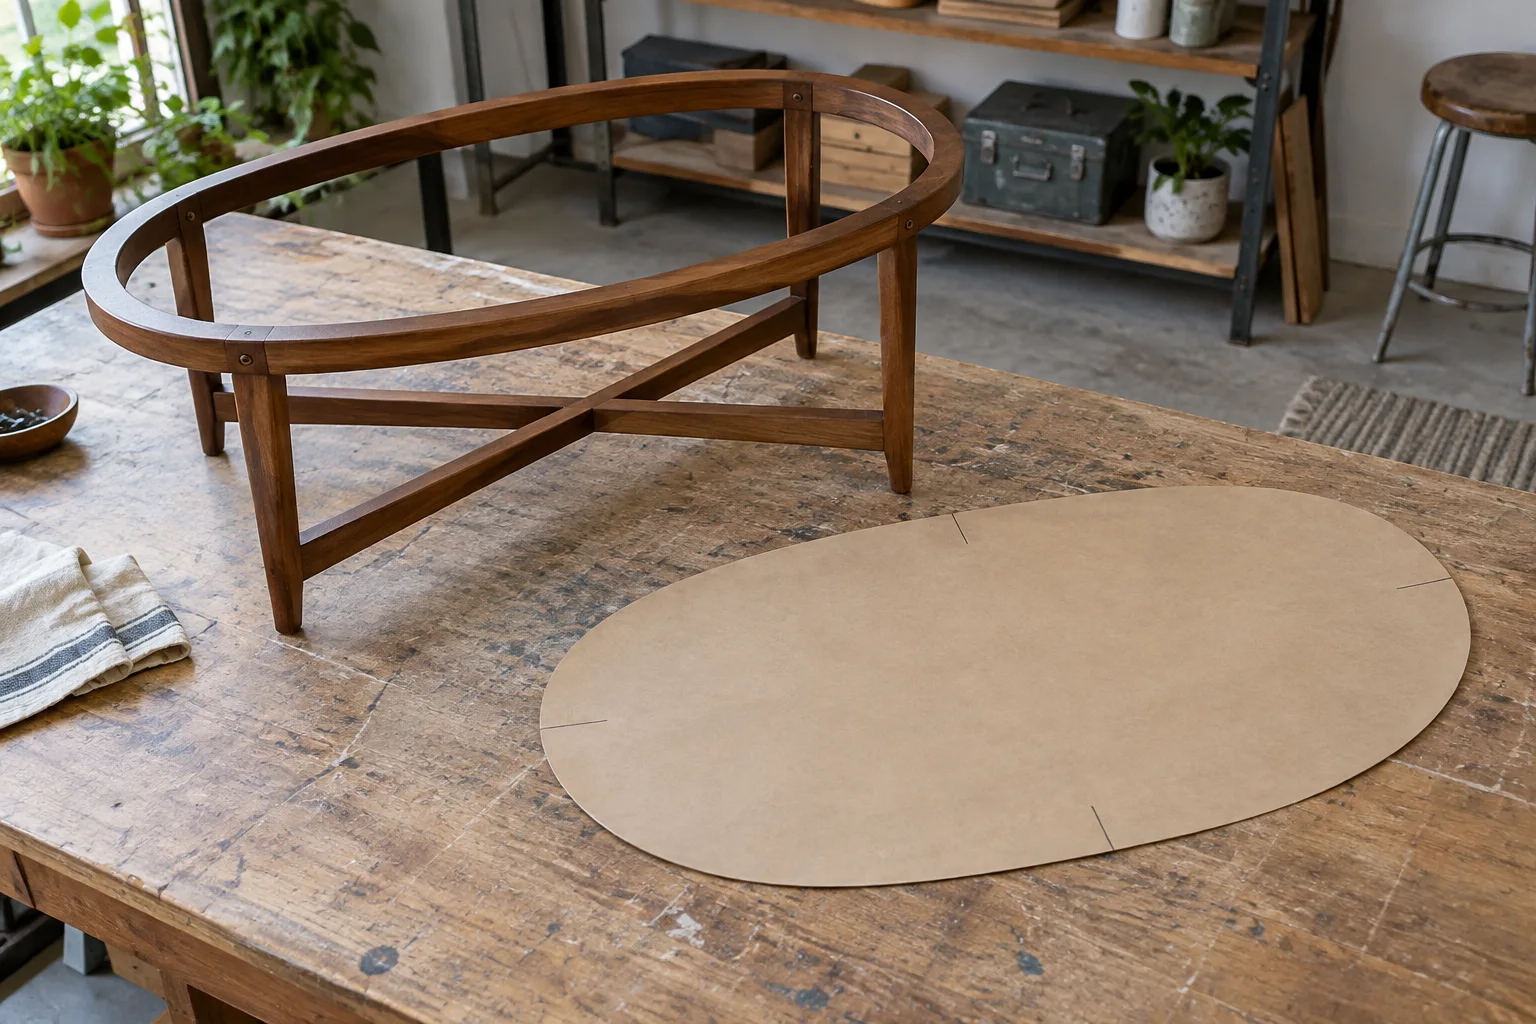
Do not move a damaged pane to make a template. Tell the glazier what survives and let them choose a safe way to measure or survey it. If the old glass is missing, the base and a verified model reference may be the starting evidence; a photograph of a similar table is not a cutting pattern.
Agree the outline, then agree the reference points
A width and length define the outer box of an oval or irregular top, not its complete curve. Clinton Glass’s measuring guide asks for a pattern for non-standard shapes. Its instructions also illustrate that glass covering a flat wooden surface has a particular measuring job. Do not transfer that supplier’s edge allowance to a glass top spanning an open base.[3]
Ask your glazier which template material and marking method they accept, whether they need a site measurement and whether the pattern represents the finished glass or a surface from which they will calculate allowances. Confirm how a template must be transported so it does not distort. A casual paper sketch is useful for discussion without necessarily being acceptable for manufacture.
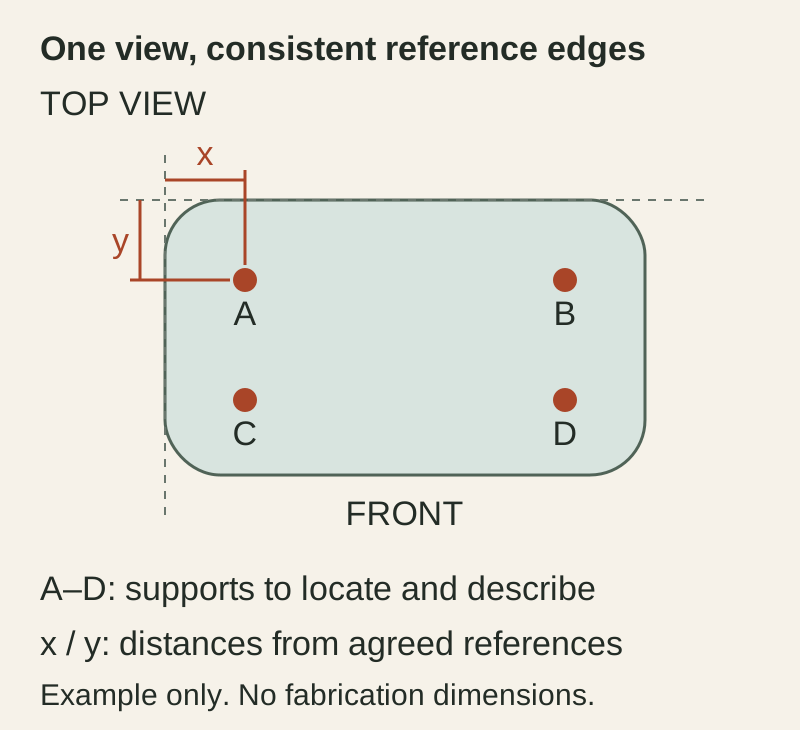
For a rectangular top with rounded corners, ask for the corner radius or the fabricator’s agreed method of recording it. For holes or cut-outs, the final drawing needs dimensions from consistent reference edges or axes. Do not estimate a hole position from the outside of a washer, or mirror an asymmetrical pattern by turning it over.
Record any recess and the way the top is meant to sit within it. The professional should confirm clearance, support and fitting requirements. Do not make an arbitrary deduction from every edge because a different online ordering guide suggested one.
Approve the details that cannot be corrected later
Pilkington states that cutting, drilling and edge working must be completed before glass is toughened. That is why a missing hole or misunderstood corner is an order problem to resolve beforehand, not a small finishing job for delivery day.[2]
Ask the quote to name the glass type, thickness, colour or tint, edge treatment, all holes or cut-outs and the drawing revision. Include delivery, fitting, suitable contact materials and what happens if the measured base differs from the information supplied. For an identified design, ask whether the maker’s replacement service provides a complete documented option.
Final approval wording
Please confirm that drawing revision B shows the finished glass viewed from above, with all dimensions in millimetres. The glass type, thickness, edges, holes, supports and installation method are those you have specified for the photographed table and intended use. Please resolve the remaining marked questions before manufacture.
Use your actual revision and agreed specification, not this wording as a substitute for either. On delivery, have the installer check the complete fit and support arrangement. Keep the final drawing with the table and describe the glass as a replacement in future sale records. The result should be a usable table with a traceable specification, rather than a pane that merely fits its outer dimensions.