Move distractions, not the history
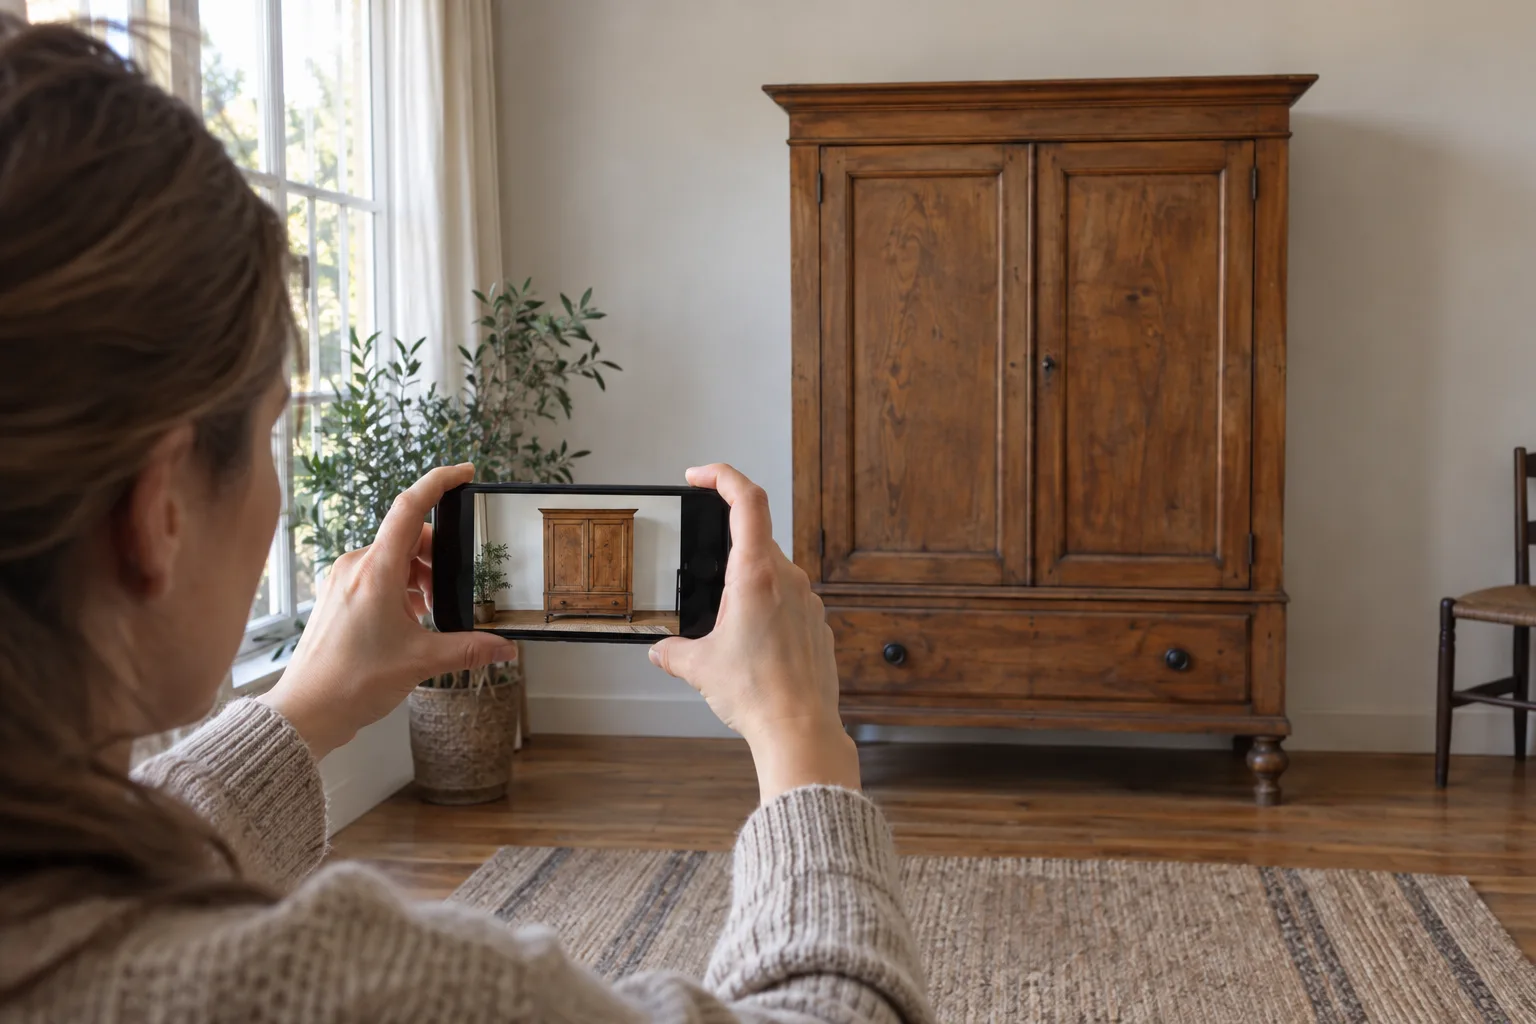
Clear the surface and nearby floor of personal clutter. Keep labels, existing fittings and the ordinary wear on the furniture. Remove loose dust only when appropriate to the material; this is a photography session, not an excuse to oil a tabletop so it looks newly restored.
Use a plain part of the room where the whole piece fits in frame. A window to one side usually makes form easier to read than a bright window directly behind the object. Avoid mixing strong warm lamps with daylight if colour matters. Take another view when reflections hide a surface rather than trying to edit the reflection away.
For a heavy cabinet, move the camera and small distractions instead of moving the furniture alone. Safe access to the back or underside matters more than completing a photo list at any cost.
Step back and keep the phone level
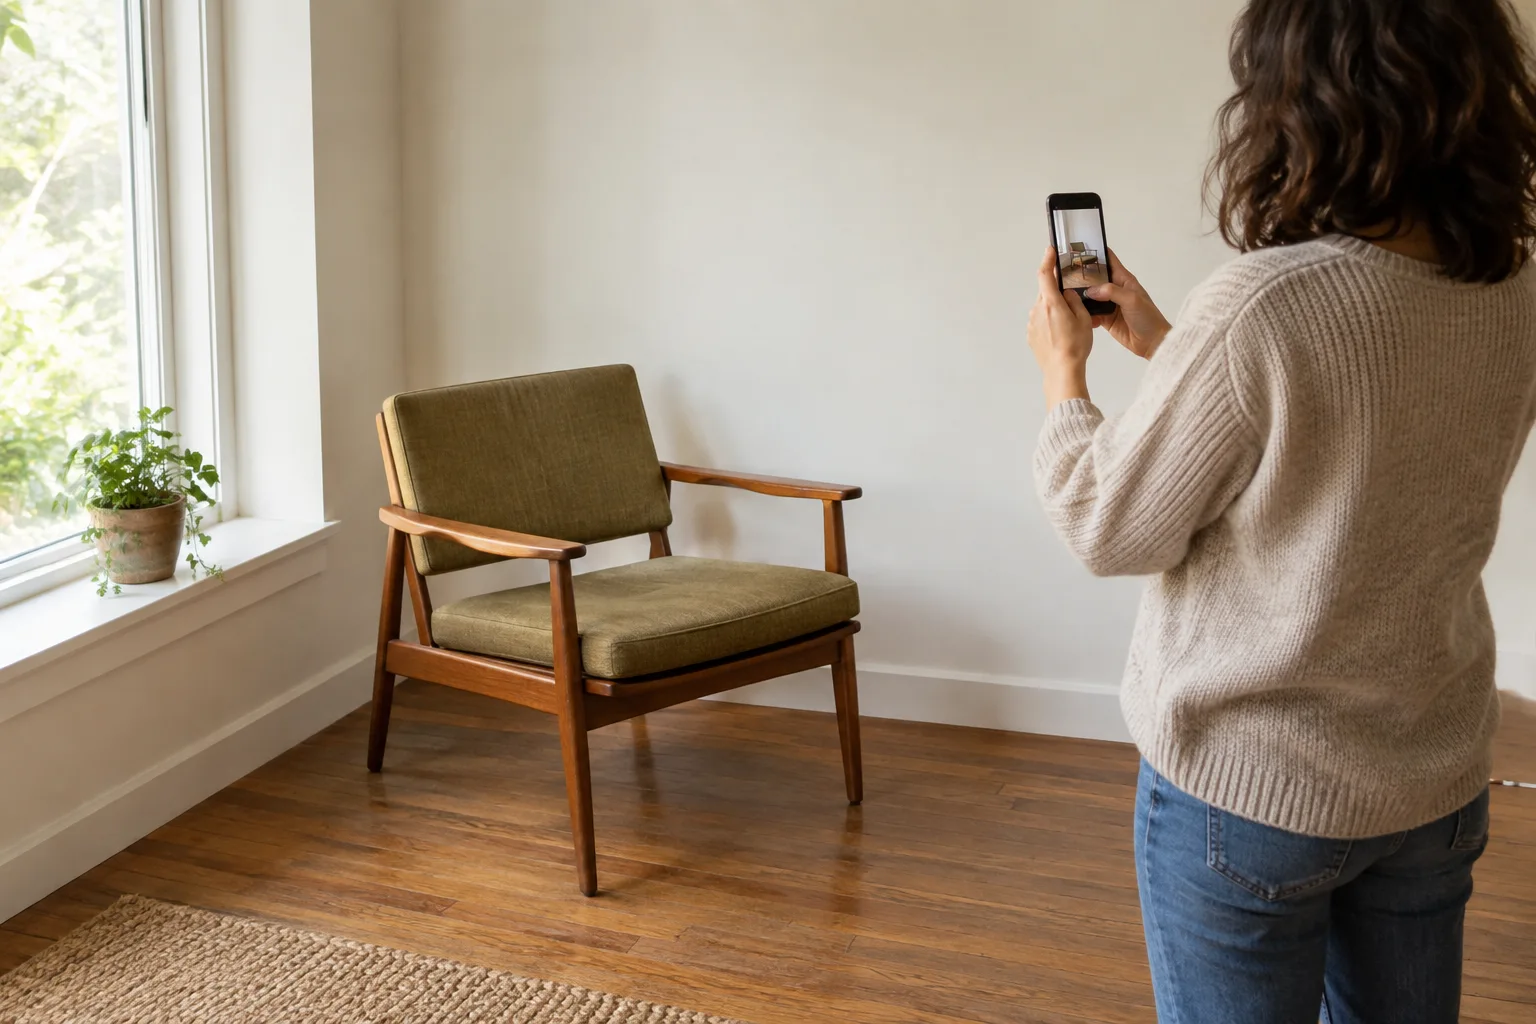
Begin with the ordinary camera view and enough distance to include the entire object. Keep the phone approximately level with the area you are photographing and parallel to a cabinet’s front for a straight-on record. If the top looks much wider than the base, change position rather than accepting exaggerated perspective.
Avoid using an ultra-wide view merely because the room is cramped. It can make near parts look disproportionately large. Take the clearest complete view available, add separate views for difficult areas and state the dimensions in the listing. A photograph is not a scale drawing.
Take a three-quarter view as well. The straight-on view explains the arrangement of doors and drawers; the angled view explains depth, legs and projecting details. Choose a cover image that is attractive and still includes the whole object.
Eight useful views, adapted to the furniture
| View | Buyer question it answers |
|---|---|
| Complete front or best whole view | What exactly is being sold? |
| Three-quarter view | How deep and substantial is it? |
| Side | What is the profile and condition of the side? |
| Back or safely accessible underside | How is it constructed and what is hidden from the front? |
| Open doors, drawers or extension | What works and what is included? |
| Marks in their location | Where does the attribution evidence come from? |
| Defect in context and detail | Where is the problem and how large is it? |
| Included loose components | Are keys, leaves, shelves or cushions part of the sale? |
For a set of chairs, show all of them together and give each a simple identifier in your notes. If chair three has the repair, keep that identity clear in the description and photo sequence. Do not let a good chair stand in for the condition of the entire set.
Consistency beats dramatic lighting
Keep the main sequence in similar light and avoid filters that warm the wood, deepen the grain or remove scratches. A small exposure correction that makes the file resemble the scene is different from retouching out wear. Keep the original files so you can answer a later question with the unchanged record.
For a defect, begin far enough away to show its location, then move closer. Add a ruler beside it when safe and useful. Do not zoom in until the image loses detail. Take another sharp photograph from a closer position instead.
Tell the buyer what the photograph cannot establish: a drawer’s movement, a persistent smell or a seat’s behaviour may need a written report or viewing. A short ordinary-use video can supplement the stills when it can be made safely, but it should not be a stress test.
Make one final privacy and accuracy pass
Look for addresses, family photographs, documents, reflections of people and vehicle plates in the background. Apple’s guidance explains how location metadata can accompany photographs and how to remove or disable it when sharing. Other phones have their own controls; check the exported files and do not assume a marketplace will strip location data for you.[1]
Before the listing goes live
Does the cover show the complete piece? Are dimensions, included parts and known repairs stated? Can each defect be located from the sequence? Have I kept the colour and wear honest, checked sharpness and removed private background details and location information?
Upload the whole-object views first and the evidence in a logical order. A useful photo set should let a serious buyer ask one or two final questions, rather than start by requesting the photographs the listing needed from the beginning.