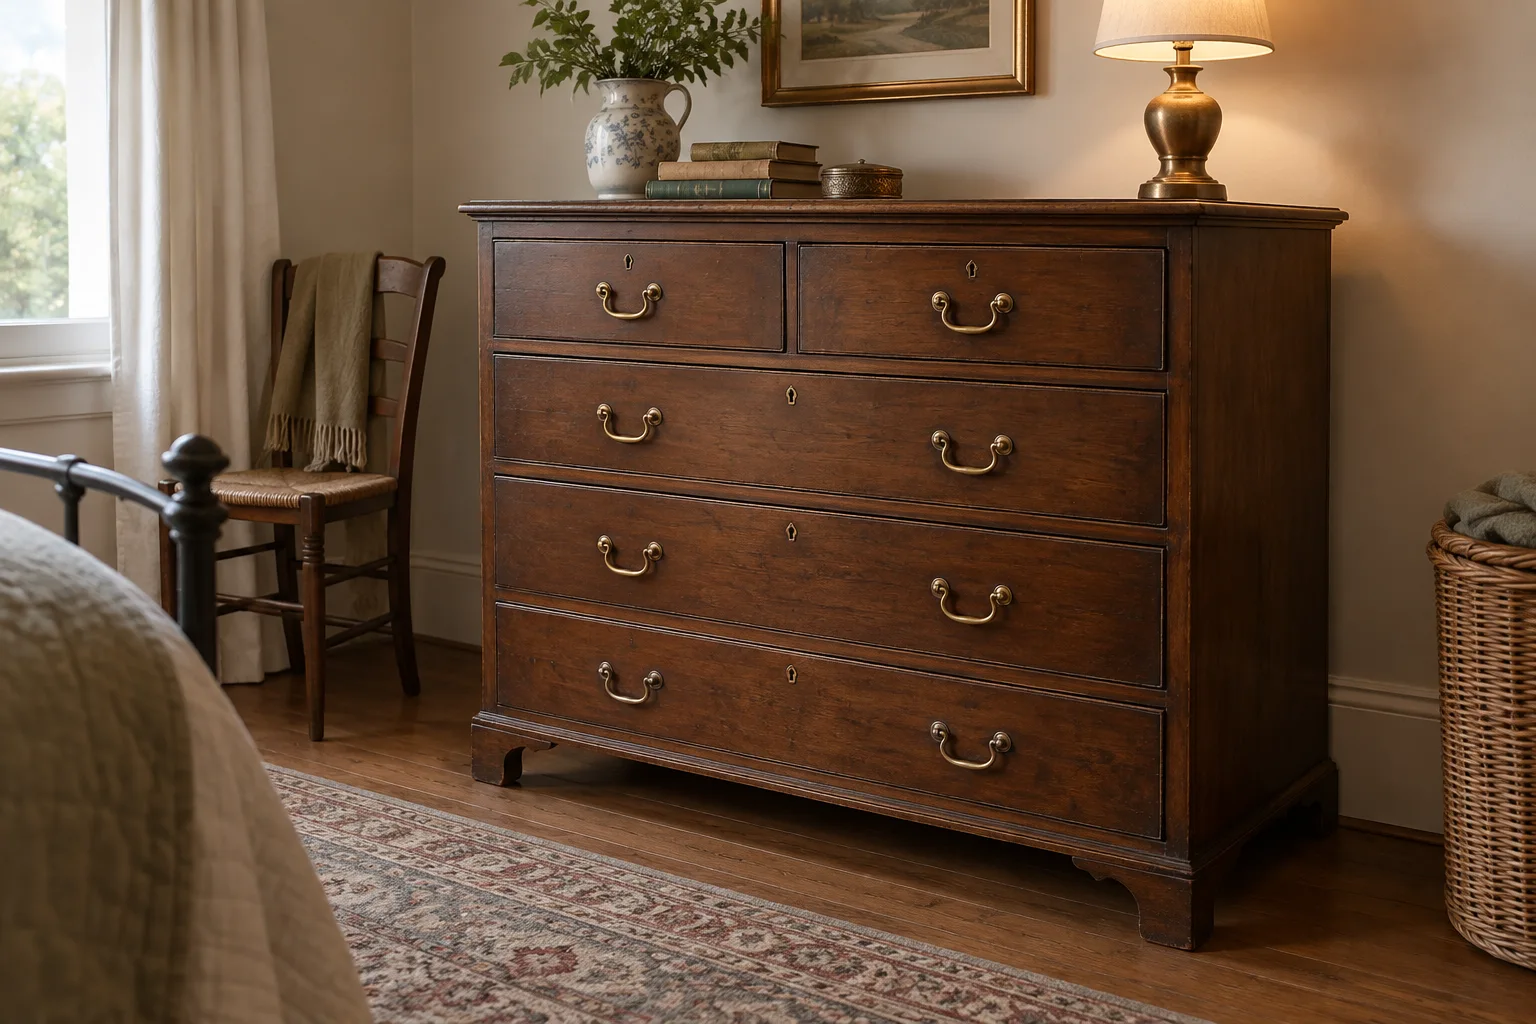
One golden colour, several possible surfaces
The handles on an old chest often look better for being a little quieter than new hardware. Raised areas catch the light while recesses stay darker. The urge to make every part equally bright can remove the contrast that made you like the furniture in the first place.
Think in layers. The body of the fitting may be brass or another metal. A metallic coating may sit over it. Above that there may be lacquer, wax, paint or a deliberately altered surface. A description saying only “brass handles” leaves several of those questions unanswered.
CCI’s guidance on brass and copper explains that some patinas and tinted lacquers are intentional, and that polishing removes metal as well as tarnish. Repeated treatment can soften detail. The first decision is therefore whether polishing belongs in the care plan at all.[1]
| Description | What it does and does not tell you |
|---|---|
| Solid brass body | Describes the metal beneath; does not rule out lacquer or an intentional surface colour. |
| Brass-plated fitting | Describes a brass surface layer; the body and the remaining thickness still matter. |
| Brass-coloured finish | Describes appearance only until its material and coating are established. |
| Patinated or lacquered brass | Includes a surface treatment that may be part of the intended appearance. |
Ask the seller for known replacement or refinishing work. A chest can carry old handles, later matching handles and replacement screws at the same time. Treat the parts individually rather than assuming that the brightest or darkest one explains the whole set.
Look at what is already exposed
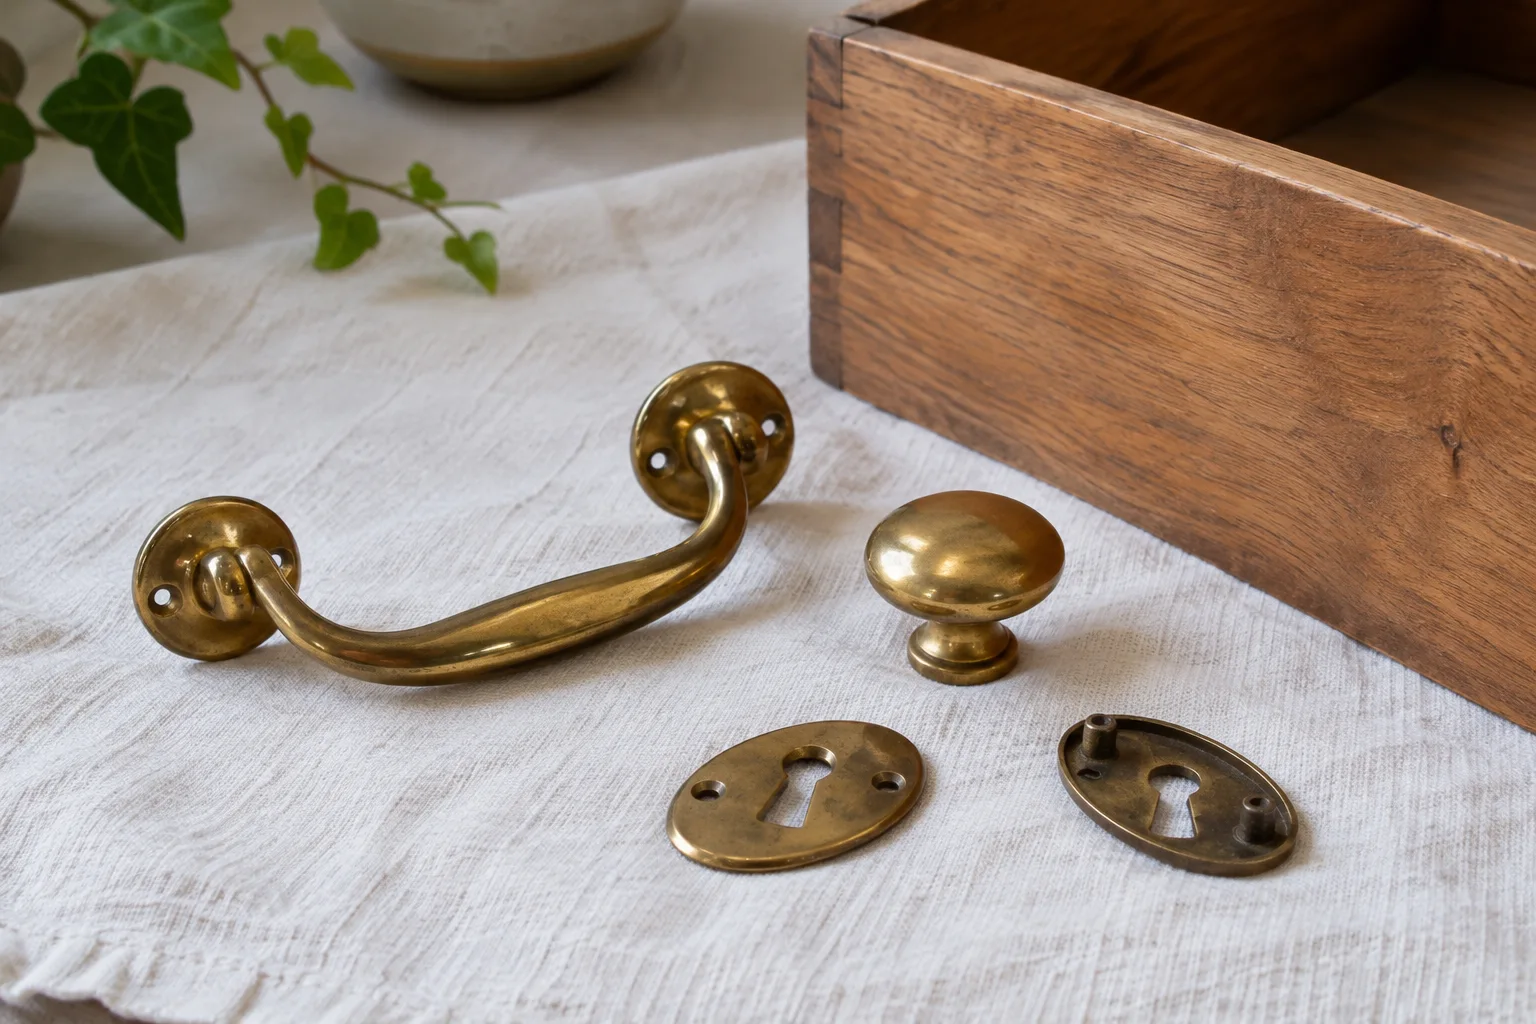
Use ordinary light and a close photograph to examine existing wear at accessible edges and contact points. A change of colour beneath a worn area can suggest layers worth investigating, but a photograph cannot reliably name them. Record what you see without turning an uncertain observation into a material certificate.
Do not create a fresh scratch, file an edge or strip a hidden patch to get an answer. Hidden damage is still damage, and a small test on one part may not explain the rest. Colour or heft alone does not tell you which coatings are present. Do not treat a household test as permission to polish.
If a fitting is already loose, keep it with the furniture and photograph front and back. Do not remove sound fittings merely to make identification easier where doing so risks the surrounding finish or fixings. An experienced metal conservator or restoration specialist can advise which examination is appropriate.
CCI illustrates how abrasive cleaning can remove plating and expose the substrate. That loss changes the treatment problem: stronger polish cannot put a missing metal layer back. Stop if the intended golden surface appears to be wearing through.[2]
Choose the result before choosing the polish
Write a modest goal: remove ordinary dust, retain dark recesses, address a specific residue or repair a damaged fitting. “Make the brass shiny” bundles cleaning, surface removal and a visual redesign into one job.
For an unknown surface, limit handling and ask for identification before treatment. Where the fitting is sound, gentle dust removal with a clean soft cloth may be all that is needed. Flaking coatings, loose corrosion products or a fragile surrounding finish deserve individual advice rather than more rubbing.
Avoid working metal polish into a fitting while it remains against vulnerable wood, veneer or upholstery. The surrounding materials belong in the treatment plan too. Let the specialist decide whether removal is necessary and how it can be done without damaging the furniture.
A useful treatment brief
I would like to retain the present warm colour and darker recesses, while addressing this specific residue or damage. Can you establish the metal and coatings, explain what treatment would remove, and show the likely difference between cleaning, polishing and refinishing?
Photograph the agreed starting point in ordinary light and keep a record of the work. If a replacement is necessary, compare it against the surviving fittings after the care decision is made. Matching a new bright handle to a surface you plan to retain is a different task from refinishing an entire set.
For the dimensions and fixings of a replacement, use our vintage hardware guide. The best outcome may be a complete, usable chest whose metal still looks comfortably its age.