
Do these three things before trying another product
- Photograph the whole surface and the changed area in diffuse light and side light. Include a scale beside it without sticking tape to the finish.
- Write down the abrasives, tools, cleaners and finishes used so far, including any stain already applied.
- Leave the surface alone while the material and repair options are assessed. Do not wet it with solvent or apply oil simply to make the colour easier to judge.
A pale or oddly coloured patch is a clue, not a diagnosis from a photograph. It may involve the finish, a colour layer or the wood beneath. Look at existing exposed edges only where they are already accessible; do not create a new cut or scrape to discover the construction.
The urgency is to stop enlarging the loss, not to hide it before anyone sees it. An accurate account of the last few minutes of sanding is useful information for a restorer, including the part where you realised something had changed.
A colour match does not replace the face veneer
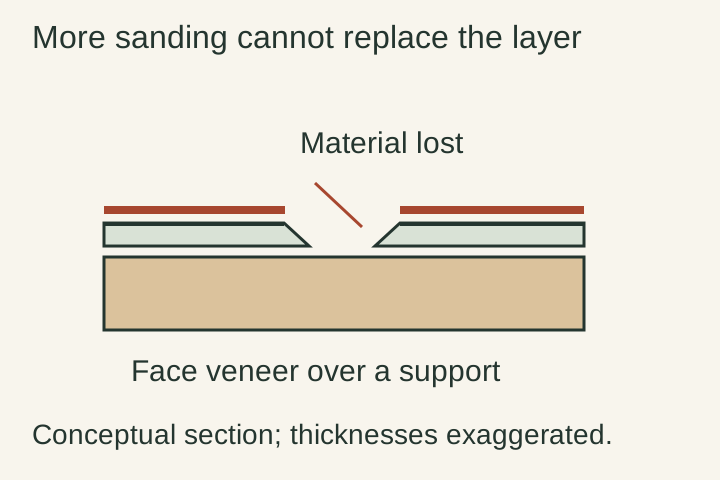
Veneer is a real wood layer over a support. If that layer has been removed, the surface beneath may differ in grain, colour and how it takes a finish. WOOD’s own sand-through example explicitly limits its cosmetic method by the type of plywood core. That limitation is more useful here than copying the recipe onto an unidentified older cabinet.[1]
A small area can sometimes be made less conspicuous through skilled retouching. That is a visual compensation, not the return of the missing wood. Under different light or from another angle it may remain visible. Ask what the repair is expected to look like at normal viewing distance and close up.
Do not deepen the surrounding sanding to make everything equally pale. The local problem can become the loss of an entire top, border or decorative pattern.
Compare three different levels of intervention
| Option | When to discuss it | Tradeoff to understand |
|---|---|---|
| Local colour or grain retouching | A small loss where reducing visual contrast may be enough. | Does not replace missing veneer; appearance depends on location, substrate and finish. |
| A fitted veneer patch | A bounded loss where a compatible grain and thickness can be matched. | Adds new wood with a joint that may remain visible; surrounding material needs protection. |
| Re-veneering a larger area or replacing a component | Extensive loss, after local options have been considered. | Changes more original material and may alter edges, detailing or the object’s history. |
Woodcraft’s veneer repair guidance distinguishes missing veneer from loose veneer and describes matching a replacement patch. Use that distinction in a professional brief. A loose but surviving piece offers different possibilities from wood that has already become sanding dust.[2]
For historically important or valuable furniture, ask a furniture conservator before accepting widespread replacement. The Canadian Conservation Institute stresses the information in original surfaces and the need for specialist treatment for consequential work. A finish that looks uniformly new is not the only successful outcome.[3]
A corner and a patterned centre are not the same case
Imagine a small loss near the back corner of an otherwise plain top. You may be happy with a careful local repair visible on close inspection. Now imagine the same-sized loss through the central meeting point of a decorative veneer pattern. Matching grain direction and the visual arrangement becomes a much larger part of the job.
Neither example supplies a universal repair threshold. It explains why a quotation needs the complete top, edges and surrounding grain rather than one tightly cropped patch. Ask whether a repair can preserve borders and existing joints, and how the final finish will relate to the rest of the piece.
Compare the cost of the agreed result with the furniture’s use and significance. A practical sideboard you already enjoy may deserve a discreet visible repair. An extensive new veneer surface should be a deliberate decision, documented for the next owner.
Give the restorer the unedited history
Message to adapt
I sanded this surface using [tools and abrasives] and applied [products, if any]. These photographs show the whole top, edges and the affected area. Can you establish whether the face veneer is lost and compare local retouching, a patch and any wider treatment, including the expected visible result and original material that would be removed?
The useful next step is a repair decision, not another pass with the sander. A mistake does not automatically make the furniture worthless, but preserving what remains gives you more options.