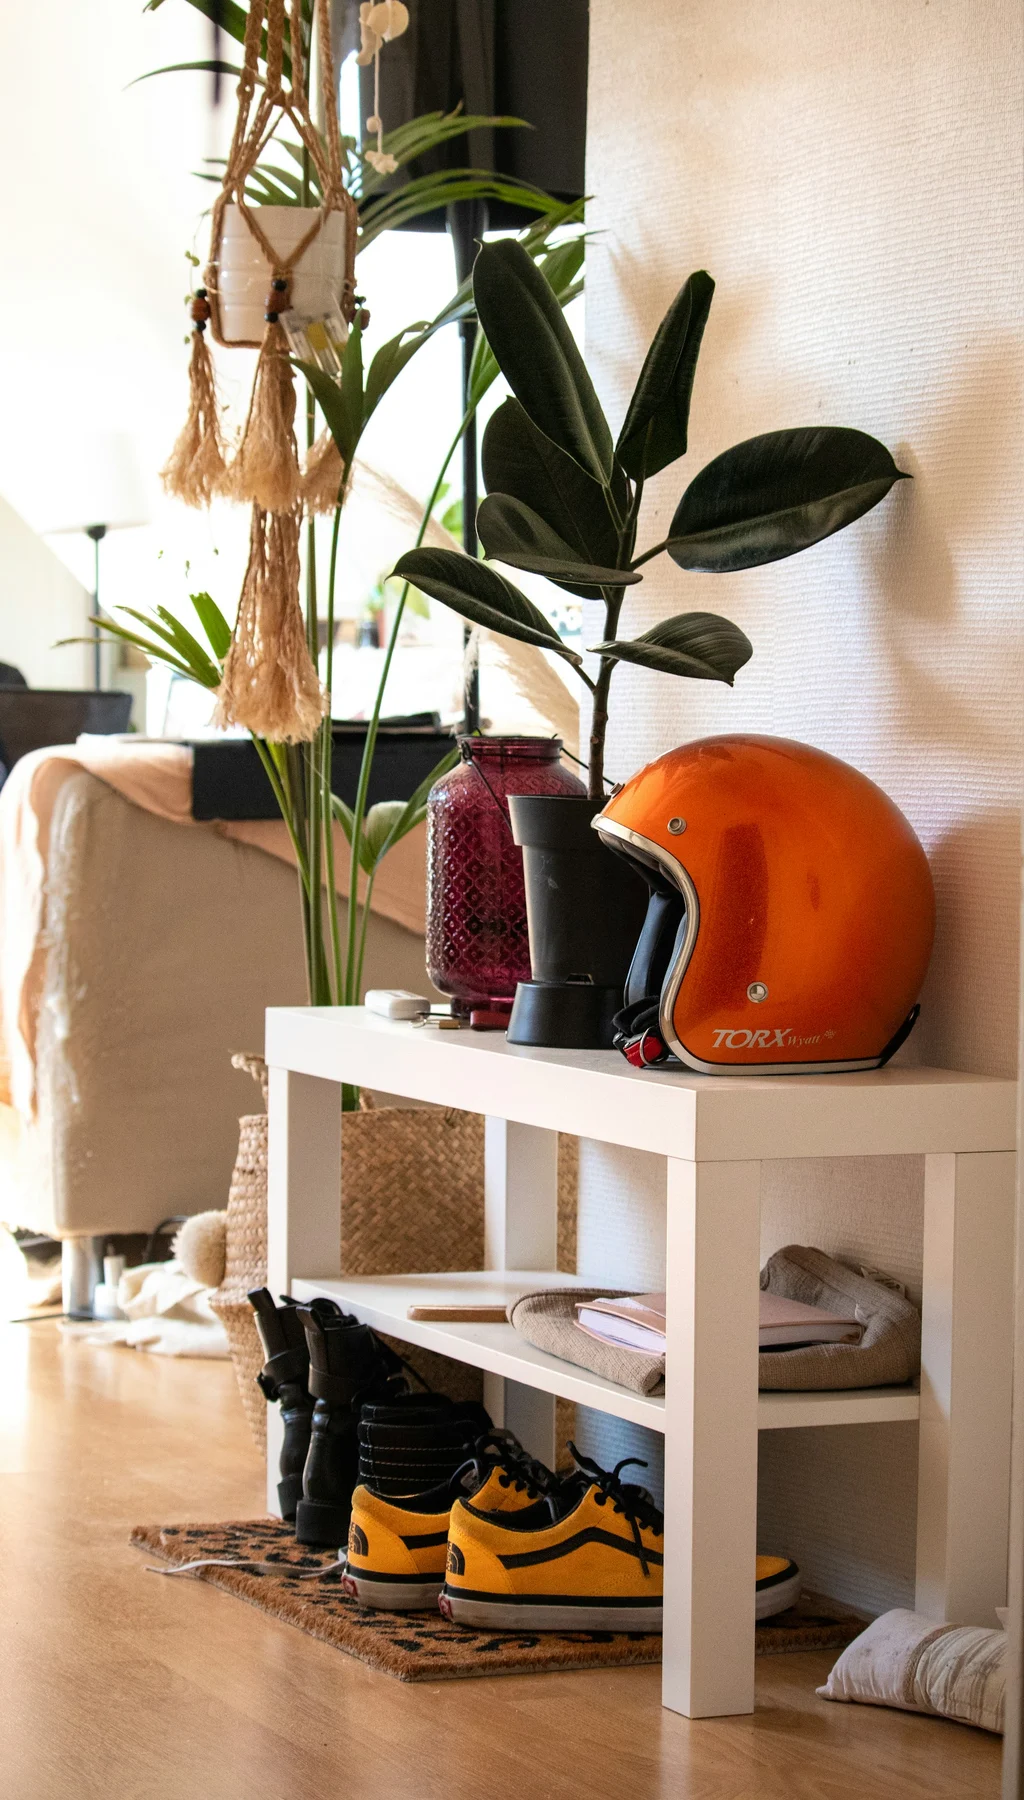
Which shoes need to live by the door?
Lay out the pairs that normally collect in the hallway. Separate everyday shoes from occasional shoes and tall boots. You may discover that four easy-to-reach pairs plus separate boot space solve the problem better than a nominal twelve-pair cabinet with awkward compartments.
Measure the largest pair together in the position you would store it: length, combined width and height. Include bulky tongues or ankle support. If the pair must sit at an angle, check the space it actually occupies rather than measuring only the sole.
For children’s shoes or a household with very different sizes, leave room for the mix to change. A capacity estimate based on small summer shoes can become disappointing when winter footwear returns.
Open shelves and tilting fronts use space differently
- Open rack or shelf. Place the largest pair on it; check overhang and the space above.
- Tilting compartment. Try a pair in the insert and watch its clearance as the front closes.
- Cupboard with shelves. Check the door opening, internal depth and whether boots need an adjustable shelf.
Ask the seller to show a tilting compartment with footwear in place. The clear space with the front open can differ from the space available as it rotates shut. A heel that catches or a toe pressed against the back is a fit problem, not a reason to force the mechanism.
Check dividers, stops and inserts against the model’s intended arrangement. Removing a divider may change the way the compartment works; establish whether that is a supported option before valuing it as boot storage.
Measure the hallway while someone uses it
Mark the closed cabinet’s footprint at the intended wall. Add the projection of its open doors or tilting fronts, then stand where you would choose a pair. Check the entrance door, adjacent cupboard and the route past you.
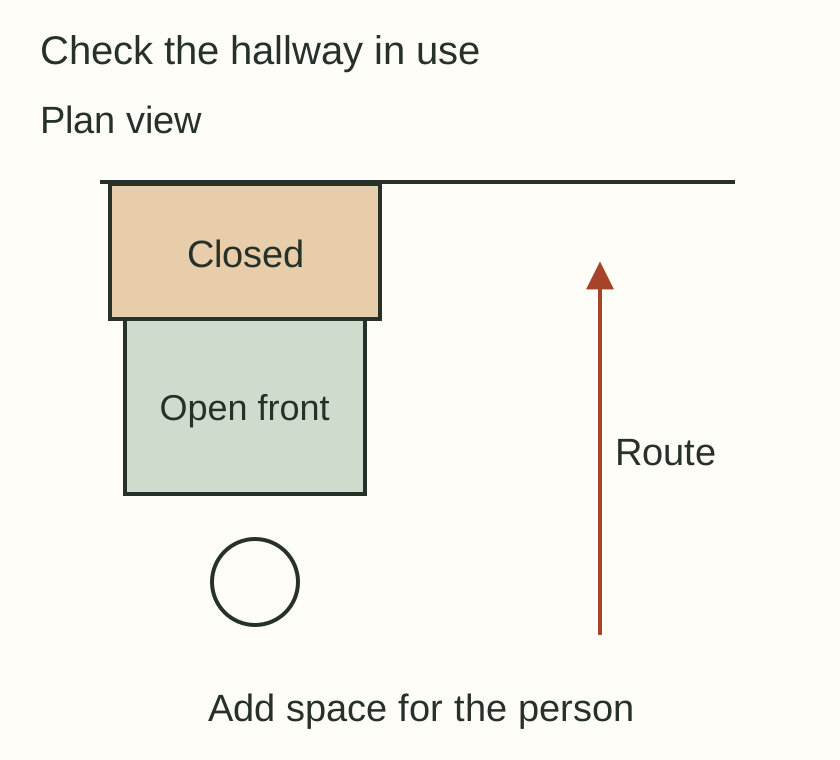
For an illustrative hallway 110 cm wide, a closed unit projecting 20 cm leaves 90 cm alongside it. If its open front reaches 45 cm from the wall, only 65 cm remains before allowing for the person using it. These are example dimensions, not an accessibility standard: measure your own route and household needs.
Check the largest skirting projection and any socket behind the cabinet. A narrow unit that cannot sit in its intended position can project further than the listing suggests. If somebody uses a mobility aid, test the real passage and turning needs with that arrangement in mind.
Look underneath before looking at the top
Ask about wet shoes, cleaning and previous storage. Inspect the bottom edges, internal corners and the area beneath inserts. Swollen board, lifted surface layers or a musty interior deserve closer investigation; a tidy top does not tell you what happened near the floor.
Open and close each compartment normally. Look for cracked plastic inserts, loose pivots, missing stops and screws pulling out of board. Price an identified replacement part before assuming every broken hinge can be replaced with a generic fitting.
Plan how damp footwear will dry before going into enclosed storage and how you will remove grit. Follow the care guidance for the exact material. Do not soak an unidentified cabinet or hide damp damage under a liner.
Some slim cabinets depend on the wall
IKEA’s four-compartment STÄLL, article 605.302.66, has legs only at the front and must be fastened to the wall. Its slim shape is therefore not evidence that it can stand freely. Check the instructions and suitable wall fixings for the particular cabinet you are considering.[1]
Confirm the supplied fittings and condition around the attachment points. If the intended wall or fixing arrangement is uncertain, resolve that before buying. Do not substitute a casual lean against the skirting for the required installation.
Also separate storage from seating. A low cabinet may look like somewhere to sit while putting on shoes, but that does not establish an intended seat function. If sitting is essential, choose a documented bench or a separate seat and include its footprint.
Ask for a practical demonstration
Message to the seller
Our largest everyday pair occupies [length × width × height], and the boots are [height]. Could you measure the usable compartments, show the fronts opening and closing with shoes inside, and photograph the bottom edges, hinges and attachment points? Please confirm the model, missing parts and installation requirements.
Choose the piece that fits your actual footwear and makes the entrance easier to use. A smaller rack that accepts muddy boots and leaves a clear route can be more useful than a larger pair count on a cabinet you cannot close.