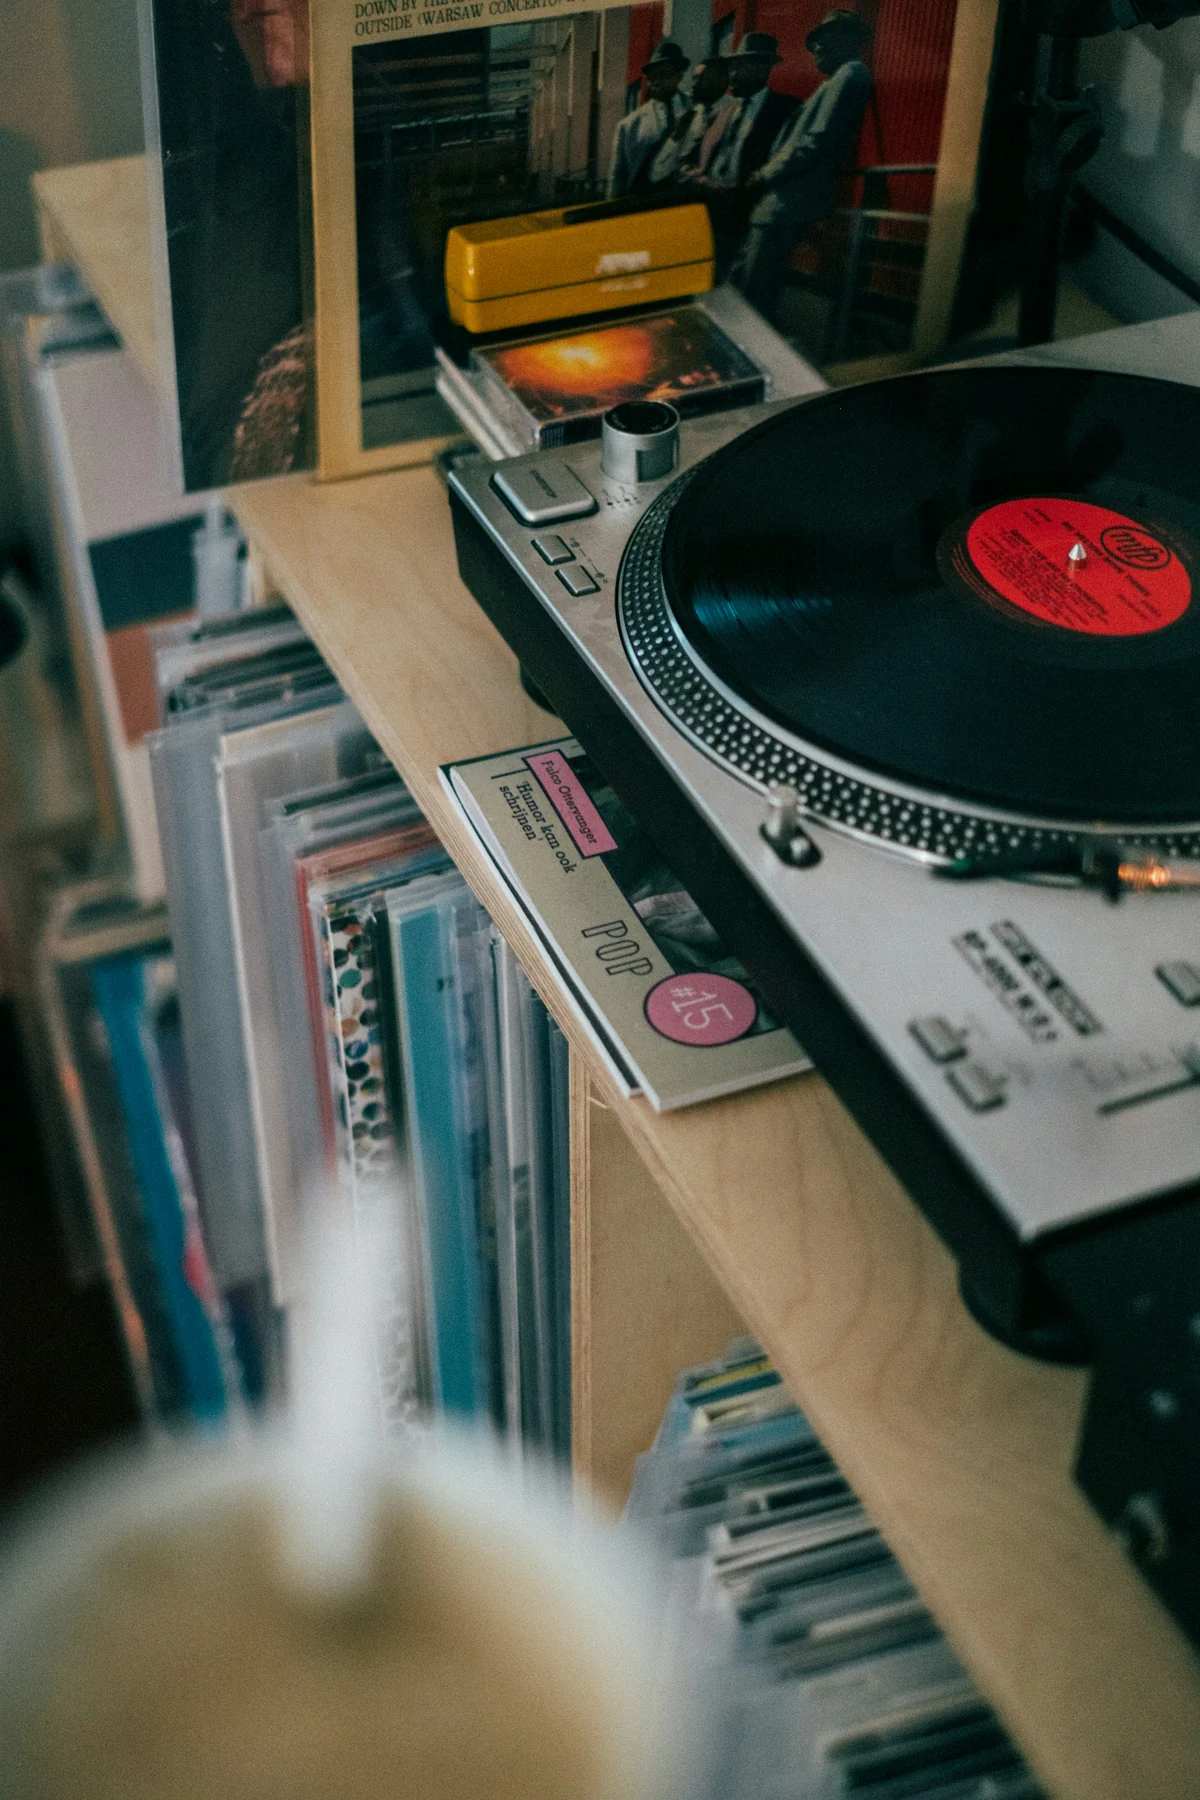
Start with the records you actually keep
Take a small, varied selection from your collection: an ordinary album, a thick gatefold, your tallest outer sleeve and a box set you want nearby. Measure each in its normal storage packaging. A listing that says “fits 12-inch records” may be describing a disc, a familiar use or a guess. Ask for the actual internal dimensions.
The Canadian Conservation Institute recommends vertical storage for recording media to limit distortion. For LPs, plan an upright, supported row that you can browse without a leaning stack or a tight squeeze. A cabinet that only accepts your albums laid in piles is a different storage proposition.[1]
Group the collection by how you use it. The twenty albums you play most often might deserve an easy-to-reach bay, while less-used records sit elsewhere. A low cabinet can be visually appealing but tiring if every choice requires a deep bend. Rehearse the reach with your own shelf before buying something of similar height.
Check the opening as well as the interior
Ask for the clear height, depth and width of every intended record compartment. Measure from the usable shelf surface to the lowest rail above it. Inside a cupboard, include hinges, catches and the back of the shut door. A large hollow space is no help if the entrance is too short or a sliding door leaves part of the bay permanently covered.
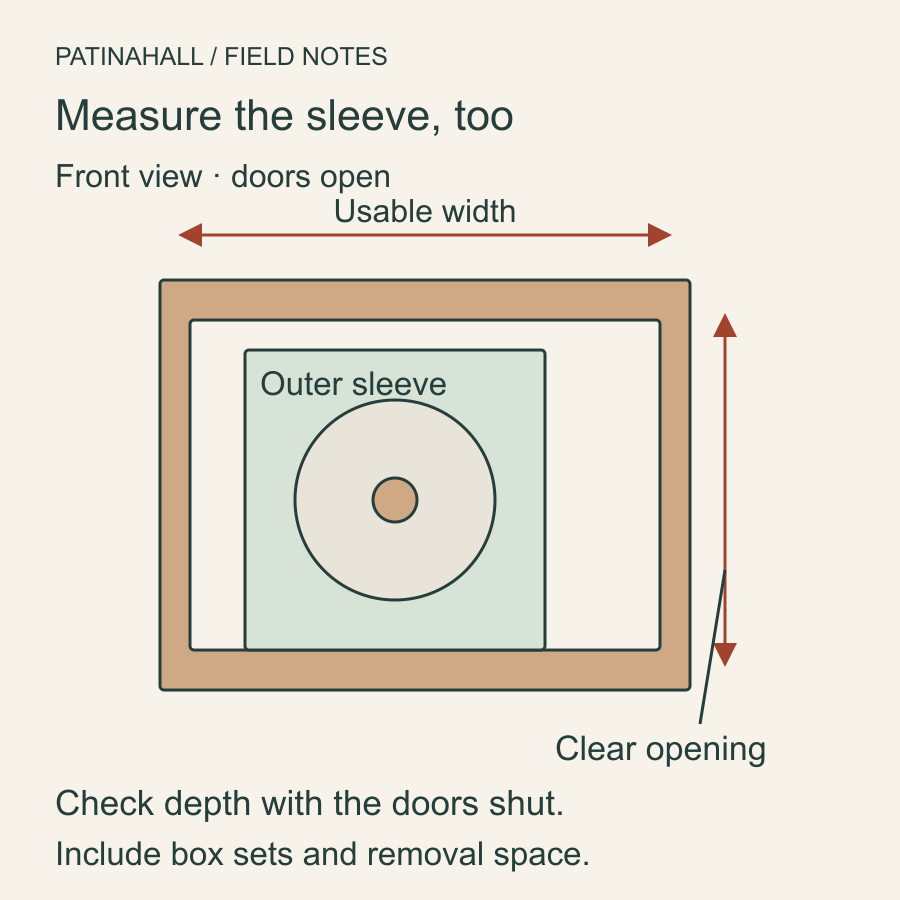
Suppose your largest everyday sleeve is 32 cm high and the compartment is 34 cm high. That leaves 2 cm above it, before allowing for the way you grasp and remove the album. If a front rail reduces the opening to 31 cm, the sleeve cannot enter upright. These are example measurements, not a recommended cabinet size: your packaging and hand movement settle the fit.
Check depth with the door closed, too. A sleeve should not need to bow around a hinge or be pushed against the back to close the furniture. If safe and agreed with the seller, try one of your own albums in the empty cabinet. Otherwise, ask for measurements with their endpoints clearly shown and keep the uncertainty in the decision.
Old record dividers can be useful, but narrow slots may exclude modern outer sleeves and box sets. Find out whether dividers are original, later additions or genuinely removable parts. Cutting them out changes the object and may affect more than its appearance.
Measure the collection in shelf length
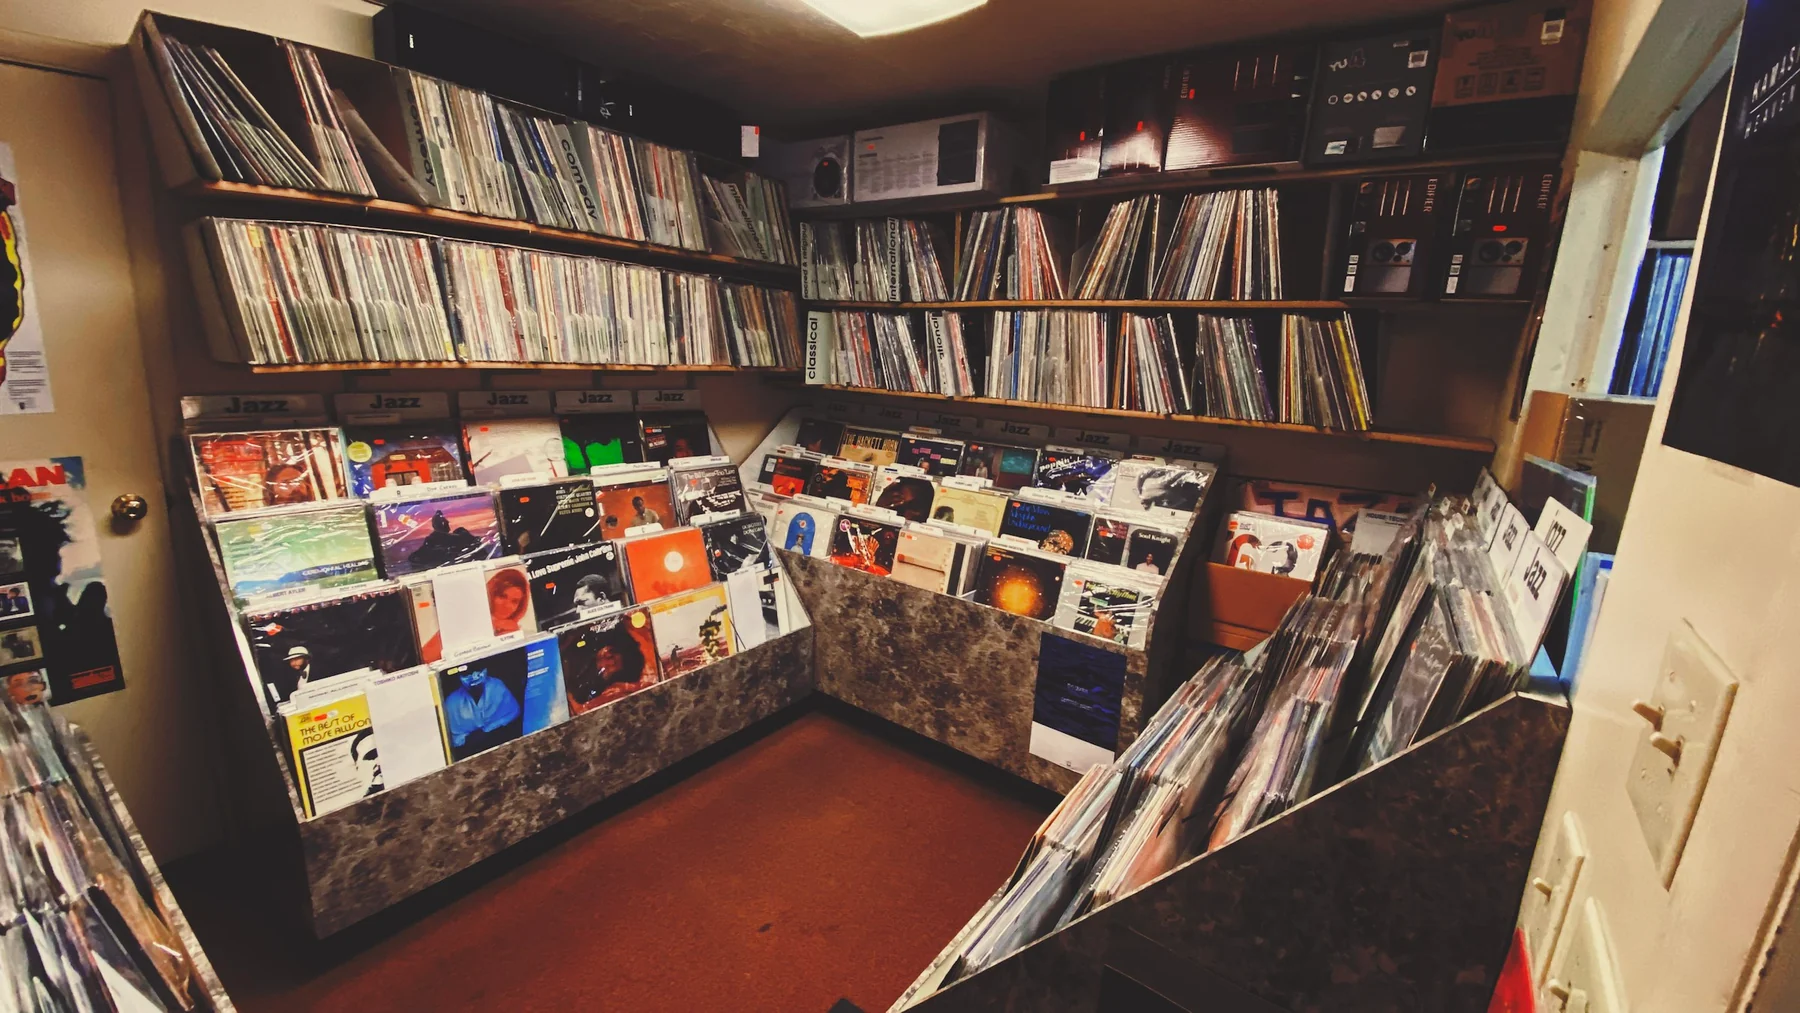
Album counts conceal a lot. Fifty thin single sleeves and fifty deluxe editions need different lengths. Measure a representative run standing normally together on a suitable existing shelf, then allow room to withdraw and return records. Measure box sets separately rather than averaging them away.
| Item | Example length |
|---|---|
| Current collection, measured in three runs | 38 + 42 + 40 = 120 cm |
| Space reserved for browsing and future purchases | 30 cm, chosen for this collection |
| Total clear shelf length to look for | 150 cm |
| Three proposed bays, each 52 cm clear | 156 cm before dividers or other obstructions |
This example leaves only 6 cm beyond the chosen plan. Subtract space taken by dividers or supports, and check that each group fits its own bay. Three bays are not one continuous shelf: a box set that needs more height or width cannot borrow room through a partition.
The Library of Congress warns that audio media concentrate considerable weight on shelving. Treat your space estimate and the cabinet’s load suitability as separate checks. Ask for any documented limit and its basis; a seller’s recollection that it once held records is useful history, but it does not rate a replaced shelf or repaired base.[2]
Photograph shelf supports, joints, the back and the base where they are safely visible. Ask about bowing, loose supports and previous repairs. If capacity remains consequential and unconfirmed, have a furniture specialist assess the proposed load before filling the cabinet. Do not ask the seller to pile records onto a doubtful shelf to prove it.
Give the turntable its working space
Make a paper outline of the player’s complete footprint, including its feet, controls and projections. Place it on a drawing of the usable cabinet top. Then add the space used while lifting the lid and reaching the arm or controls. A back gallery, wall shelf or picture ledge can obstruct the lid even when the closed player fits.
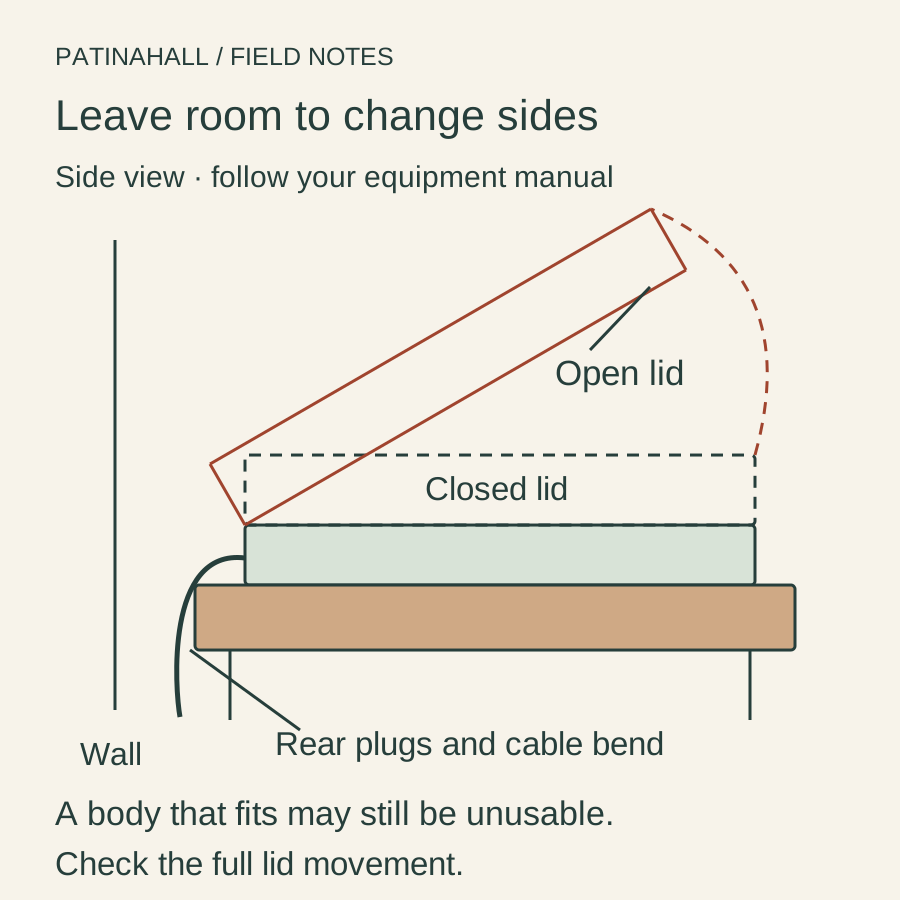
For example, Audio-Technica’s AT-LP60X manual calls for a level surface and advises against placement next to speakers because of vibration and acoustic pressure. It also excludes confined installation and requires good ventilation. Those are instructions for that model; read your own player’s manual before choosing the furniture layout.[3]
Give speakers their own suitable positions in the room instead of assuming they belong on either end of the same cabinet. Check the amplifier or receiver separately: body depth does not include inserted plugs, and an open door does not necessarily satisfy its ventilation instructions. A listening arrangement may need more than one piece of furniture.
Keep everyday handling in the plan. Where does the outer sleeve go while the record plays? Can you reach the power connection without moving a loaded cabinet? If every album change requires lifting equipment or clearing a lamp, the top is already doing too many jobs.
Look for changes that affect the new job
A later shelf, a removed divider or a neatly drilled cable hole need not rule out a cabinet. Ask what changed, why and whether the work affects support or leaves a rough edge against cables and sleeves. Distinguish the visible alteration from any claim that it was factory-made for hi-fi use.
A radiogram or console with built-in old equipment is a separate project. Do not plug it in to see whether it works or assume that removing the equipment leaves a ready-made storage cabinet. Have the electrical and furniture work scoped by appropriate specialists before making the purchase depend on a conversion.
Resolve the cabinet’s own stability and any required anchoring in its intended room, following instructions appropriate to the furniture and wall. CPSC’s Anchor It! guidance addresses furniture tip-over prevention. Anchoring does not establish shelf capacity or make a weakened cabinet ready for a heavy collection.[4]
For general cupboard access and moving parts, use our drawer and door inspection Guide. Keep damp, pest or odour concerns separate from a simple fit calculation.
Send the seller your record-storage brief
Message to copy
I want to use this cabinet for [collection length and sleeve/box dimensions] and [equipment models]. Could you confirm the clear opening and internal height, width and closed-door depth of each bay, plus the usable top? Please show shelf supports, dividers, back, base and known repairs or alterations. Is any load limit documented, and are there loose or bowed parts? Please do not load or modify it for this request.
Choose the piece when your records fit without contortions, the expected load has a credible basis and the equipment can be used comfortably. If the cabinet works beautifully for the collection but poorly for the player, separate their homes. It is a worthwhile compromise when it makes choosing and playing an album a pleasure.