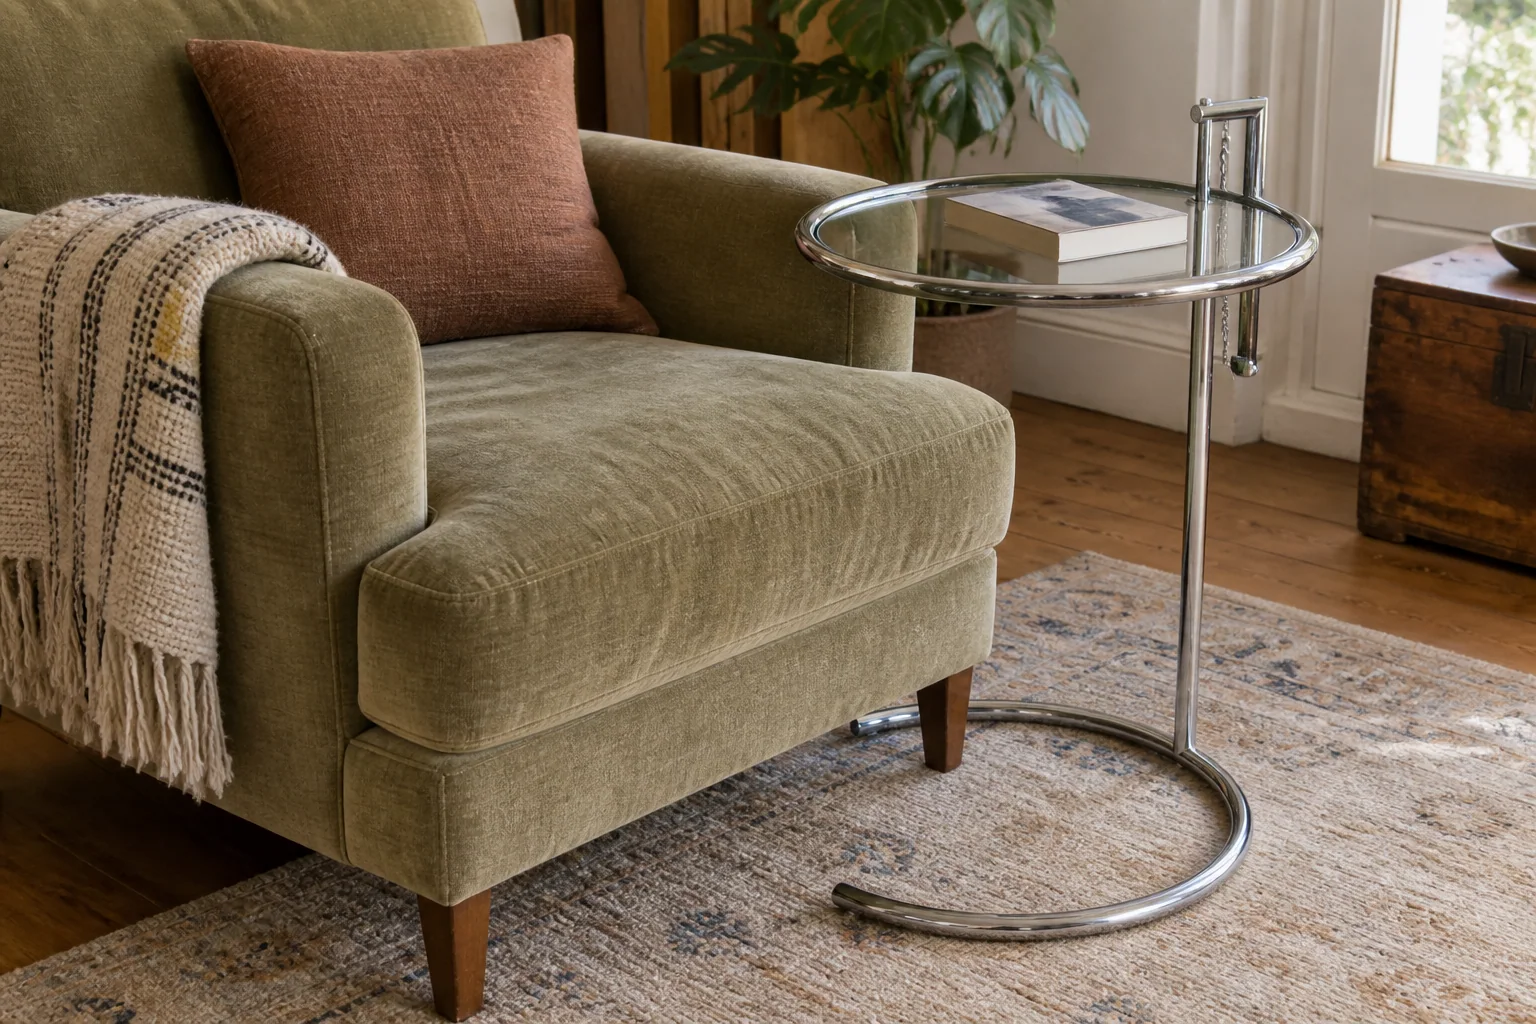
Use the maker’s instructions for the right question
ClassiCon’s E1027 instructions describe identification marks and a tabletop sticker on the documented production, together with the adjustment and top-retention arrangements. They are valuable reference material. They do not prove that every older authorised example carried precisely the same marks, or that a marked table is authentic.[1]
Ask the seller who made the offered example, what period they claim and which documents support it. Photograph marks in place and compare the complete object as well as the lettering. A replacement glass top may be entirely practical, but its specification and replacement history belong in the description.
Decide whether you are paying for a particular production history or simply considering a useful older table with a qualified identity. Those can be different prices and different decisions.
Check the little parts before placing anything on the glass
The cited instructions use a pin to secure the height and show two fixed glass anchors with a third movable anchor. Ask for the equivalent parts on the offered table and a gentle demonstration by an owner familiar with its operation. Do not assume a chain by itself shows that a complete lock is present.[1]
If the top moves in its support, an anchor is missing or the height does not lock as intended, stop using it until the arrangement is assessed. A glazier or appropriate service specialist should confirm any replacement top from the exact table, including material, size, edges and retention. A diameter measured from a listing photograph is not an order specification.
The same instructions give a 3 kg maximum load for the documented product. That is a limit to respect on that version, not a certification of an unidentified older table. This is not furniture to sit on, lean on for support or use as a step.[1]
The base has to arrive before the tabletop can be useful
Draw the lowest part of your chair: feet, front rail and any plinth. Measure the clear route for the table’s open base and where the upright will stop. A top that looks perfect above the arm in a photograph may never reach that position beside your sofa.
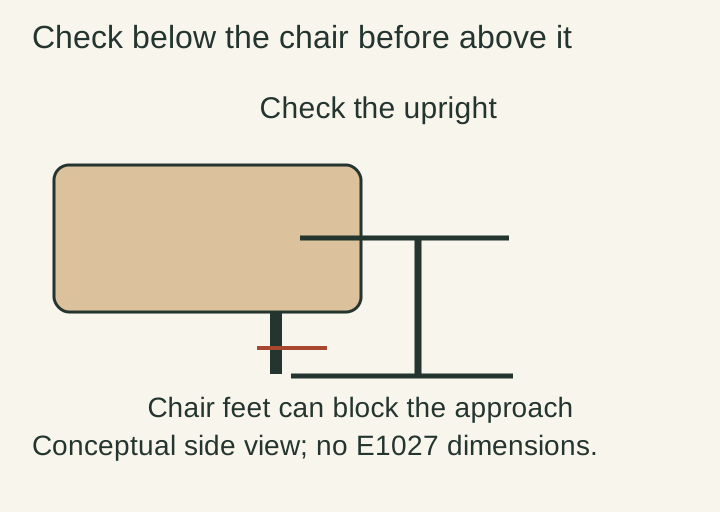
Now measure the comfortable table height from an arrangement you already use. Ask the seller for the actual supported range and check that your preferred position is within it. Keep the whole upright and any projecting part clear of the arm, cushions and walking route.
Try the movement with an empty table if its condition is confirmed. If the routine requires lifting it over a chair leg every time, decide whether that is still convenient. An adjustable table earns its space through a repeated small movement, not merely a clever catalogue drawing.
Keep glass condition and frame wear separate
Request the glass edge in clear light, the top around its anchors, the base’s floor contacts and any visible frame repairs. Avoid running a finger over a suspect chip. Have cracks, sharp damage or an uncertain repair assessed before use; a cloudy patch on chrome asks a different question.
Ask the seller
Please confirm the producer and the evidence for the stated age, show the adjustment pin and every top-retaining fitting, and describe any replaced glass or frame repair. Could you measure the actual height range and the base’s clear approach beneath a chair?
Choose a complete table that reaches the position you need. An incomplete one can still be a project, provided the parts and professional work are confirmed before purchase.