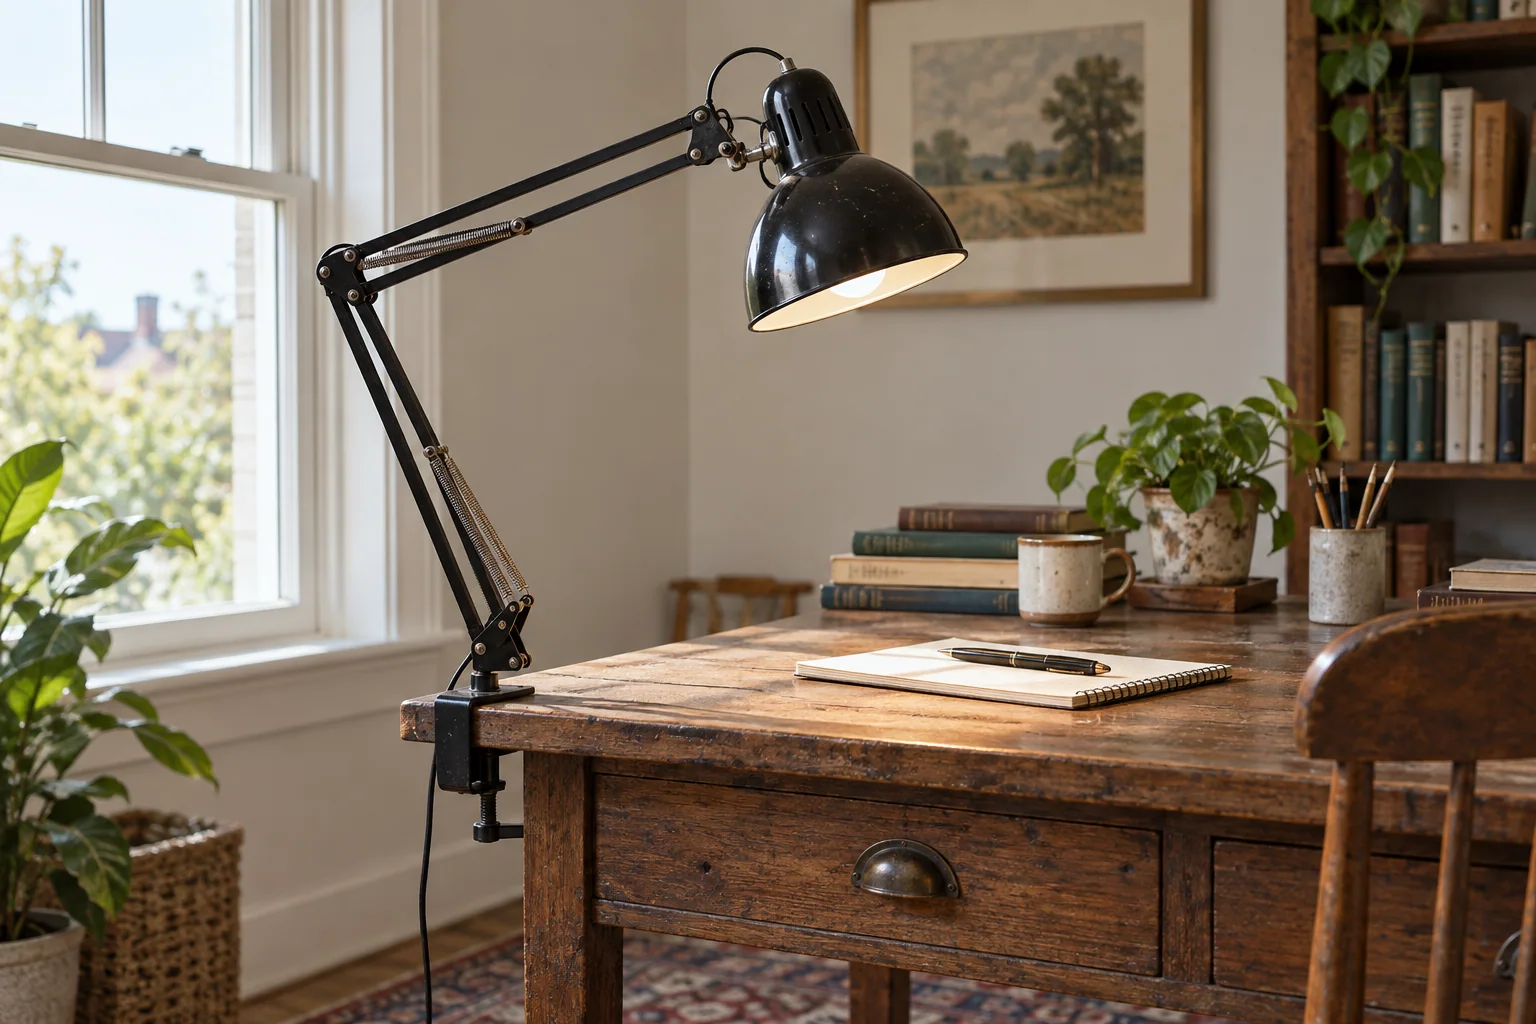
A lamp that gives the desk back to you
The attraction of an L-1 is easy to understand on a small desk: bring the light over a book, then move it away when you need the surface. Glamox traces the L-1 to 1937. Its published L-1 material includes a table clamp, while the manufacturer’s anniversary brochure shows alternative mounting arrangements. That history does not make every surviving part interchangeable.[1]
Decide where you sit and where the arm would begin. A clamp at the rear corner may save useful surface; one directly behind a monitor may be hard to reach. Include the shade and your normal range of movement when you try the position, not just the small circle where the stem enters the mounting.[2]
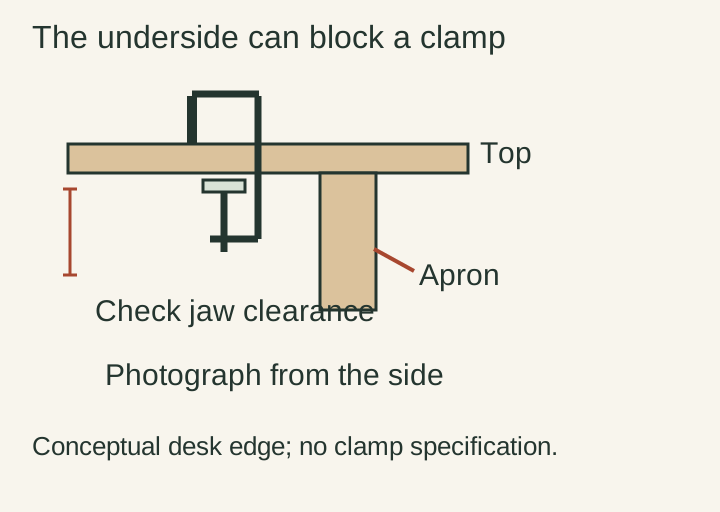
Photograph the edge from underneath
Measure the top at the proposed mounting point and look beneath it. A deep apron can prevent the lower pad reaching the underside. A bevel may leave too little flat contact, while a cable tray can occupy the clamp’s path. Send a side view to the mounting supplier rather than ordering by the desktop thickness alone.
| Record | What it resolves |
|---|---|
| Top thickness and flat contact area | Whether the clamp can seat as intended. |
| Apron or obstruction below | Whether the jaw and tightening control have room. |
| Lamp stem and existing socket | Which part must fit the lamp itself. |
| Whole lamp and label | Whether the supplier is identifying the right version. |
A glass, hollow or damaged top needs the desk maker’s advice about a concentrated clamp load. Do not invent a reinforced mounting with a stack of scraps. If a freestanding base is the better option, ask the supplier to confirm the base for this arm and its intended reach. A small decorative base is not a substitute for that assessment.
Check the arm before buying its missing partner
With a sound mounting already in place, have the seller move the unplugged lamp gently through its normal range. Does the shade hold its position? Does one joint drop while another is stiff? Photograph missing springs, unmatched hardware or a distorted arm without trying to compensate by overtightening everything.
Ask a repairer to distinguish missing parts from a joint or arm that needs work. Spring appearance alone is not a safe specification for an improvised replacement. Keep the arm length, shade and mounting together in the enquiry; changing one component may affect how the assembly behaves.
The wiring assessment is separate. Arrange appropriate professional inspection of an older lamp, including the cable where it passes moving parts, before using it. A photograph with the bulb lit does not tell you whether the lamp is ready for daily adjustment.
Compare the whole desk setup
Put the lamp, confirmed mounting, any mechanical work, electrical inspection and delivery on one line. Compare that total with a complete example. A missing clamp can be an acceptable project when the supplier has identified the exact solution; an unpriced search for something that looks close is still unfinished research.
Send two photographs with this request
This is the lamp’s label and stem, and this is the desk edge from the side and below. Can you confirm a compatible mounting, the required contact area and what is included? Please separate any arm repair from the mounting price.
The best result is pleasantly ordinary: a lamp that reaches your book, stays there and leaves enough desk for the work. Buy towards that result, not just the silhouette.